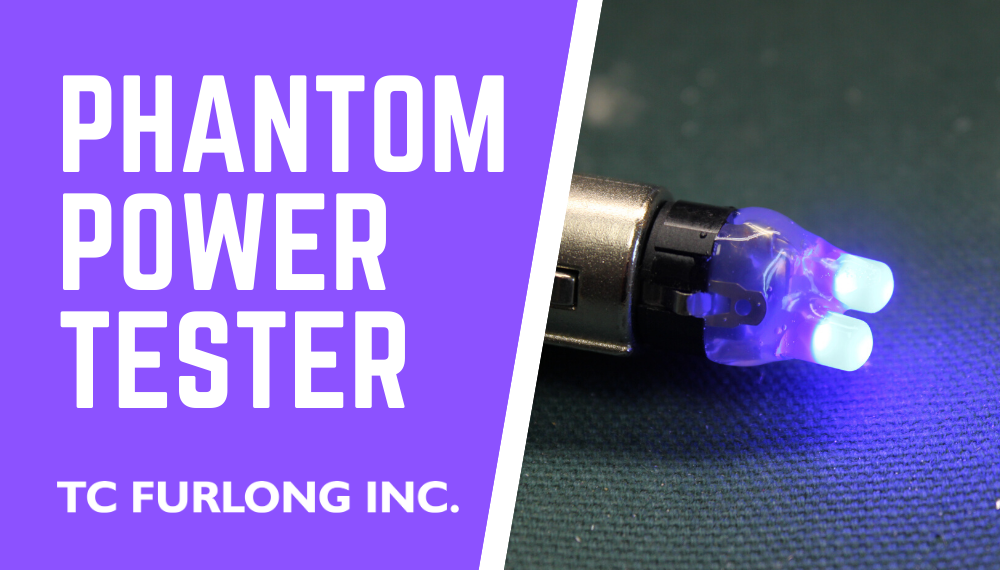
PHANTOM POWER TESTER: An easy and cheap tool for troubleshooting mic lines.
by Scott Helmke
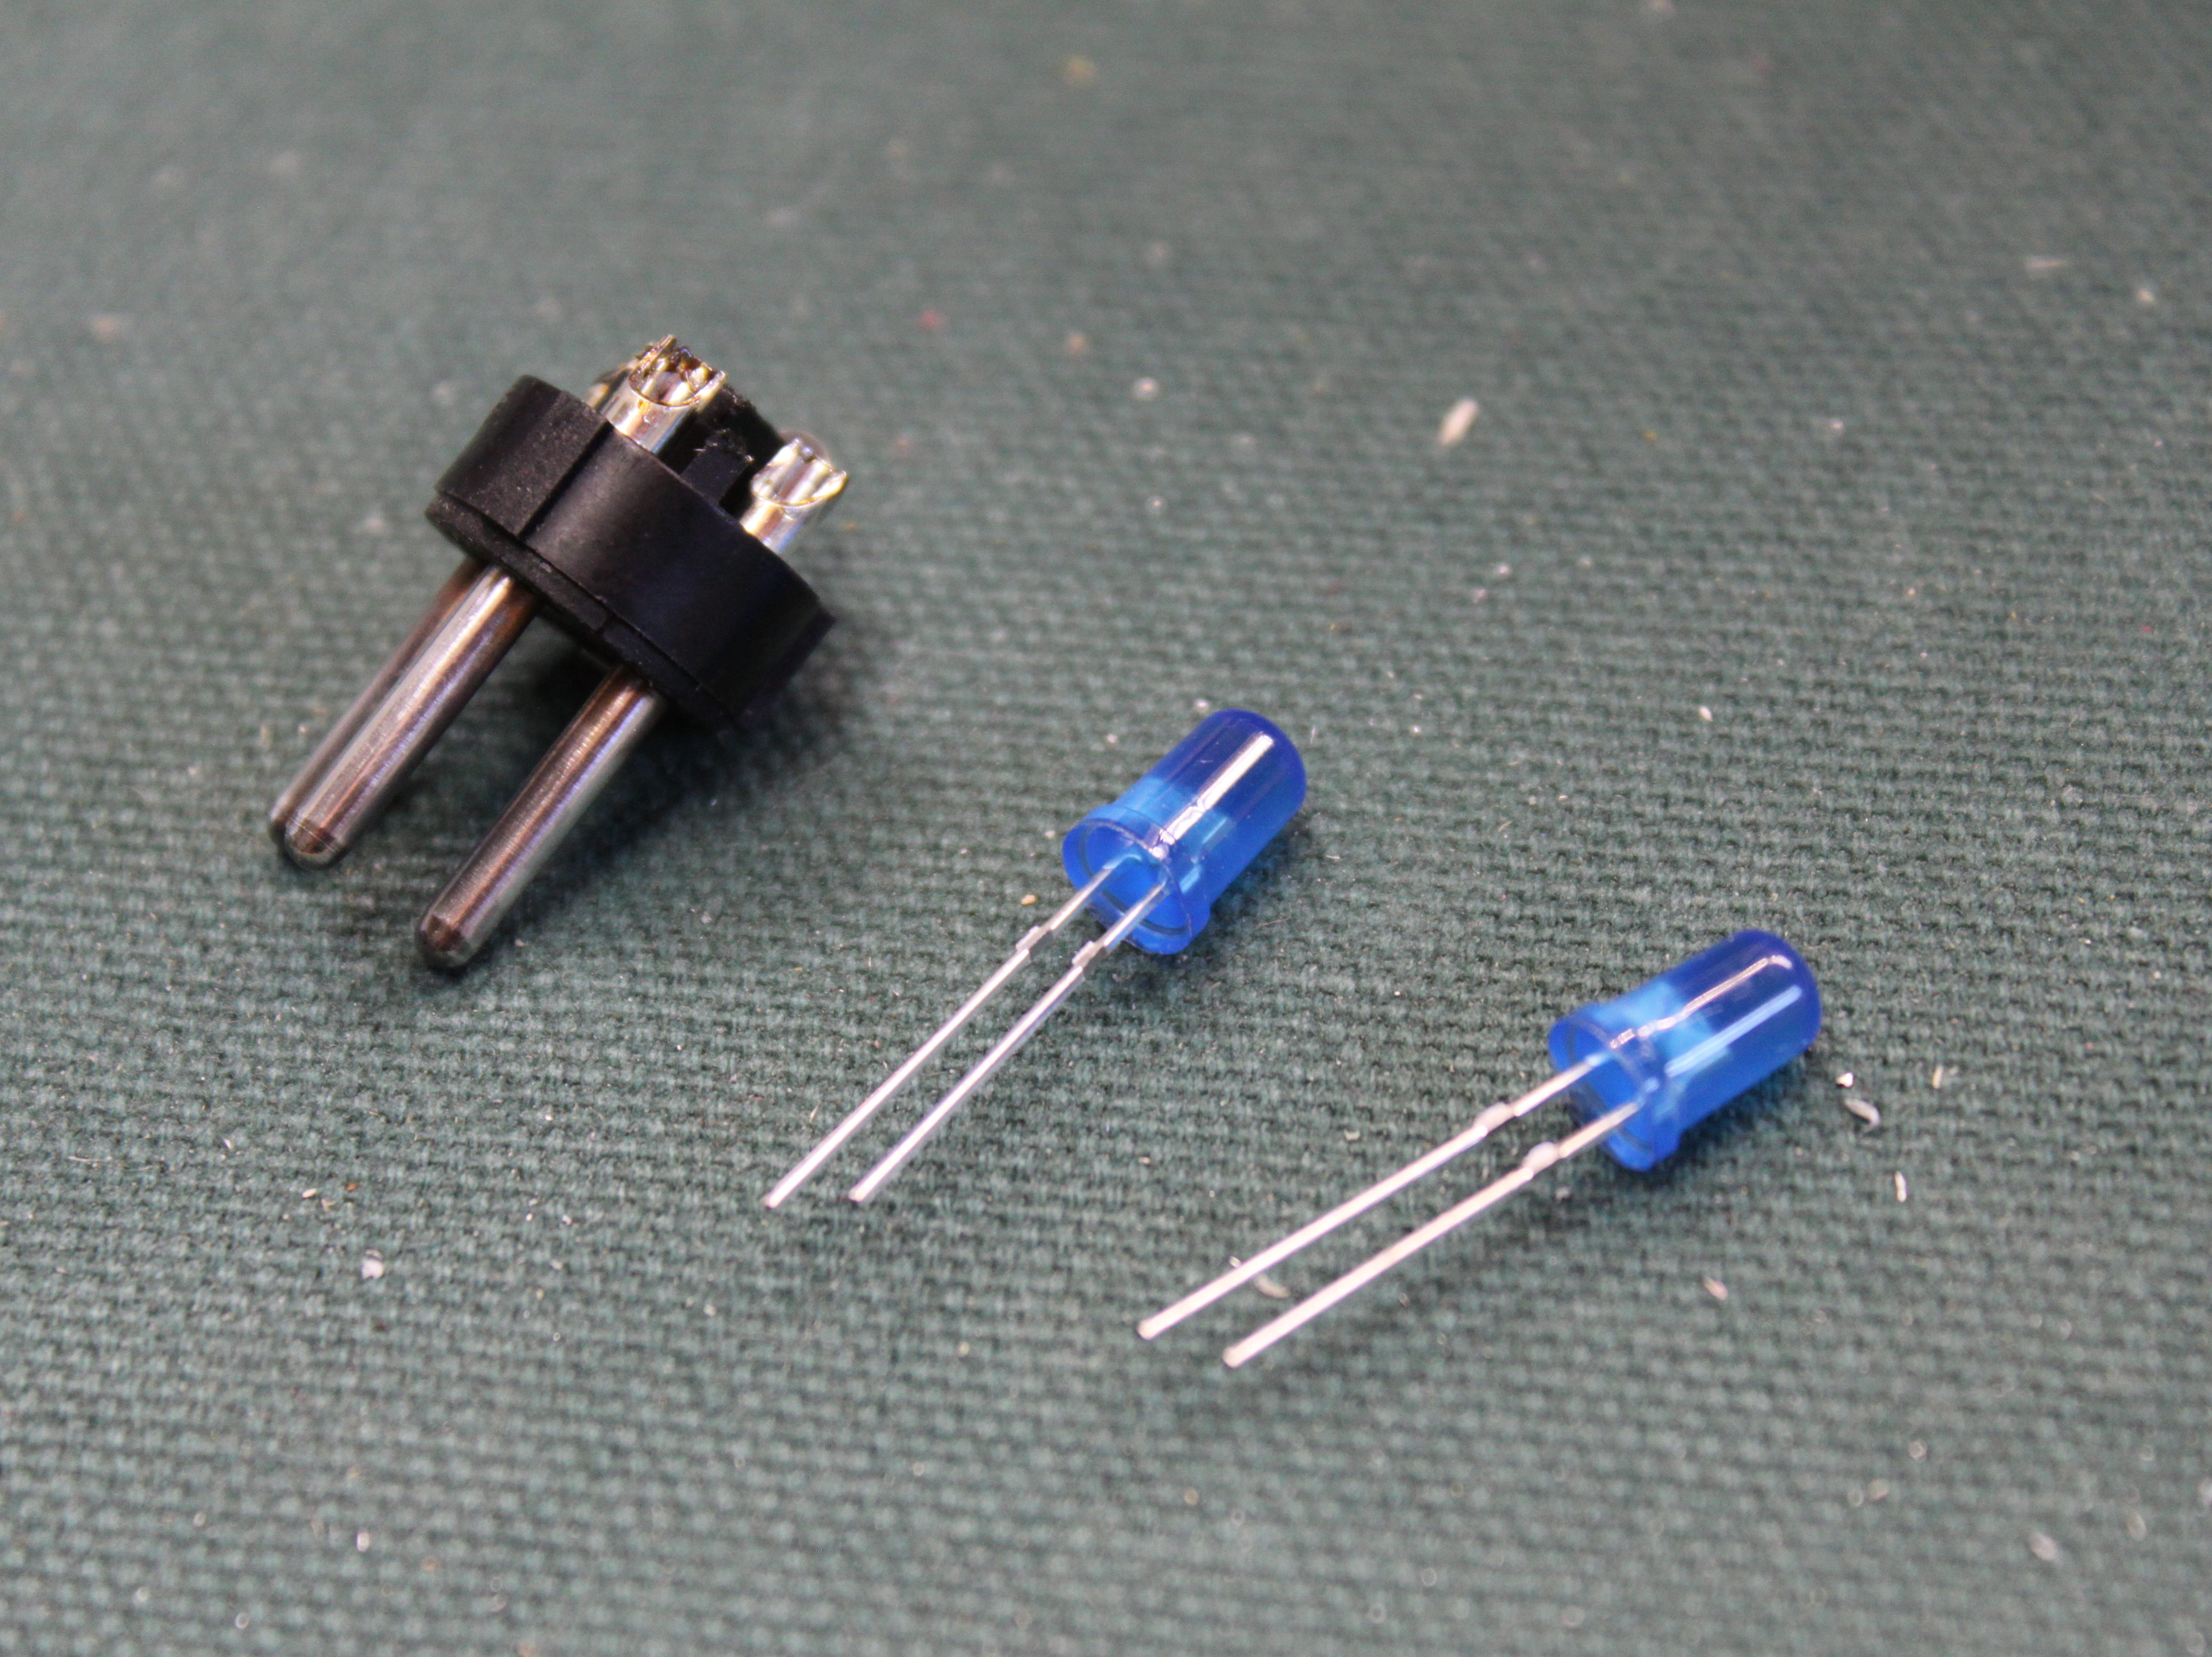
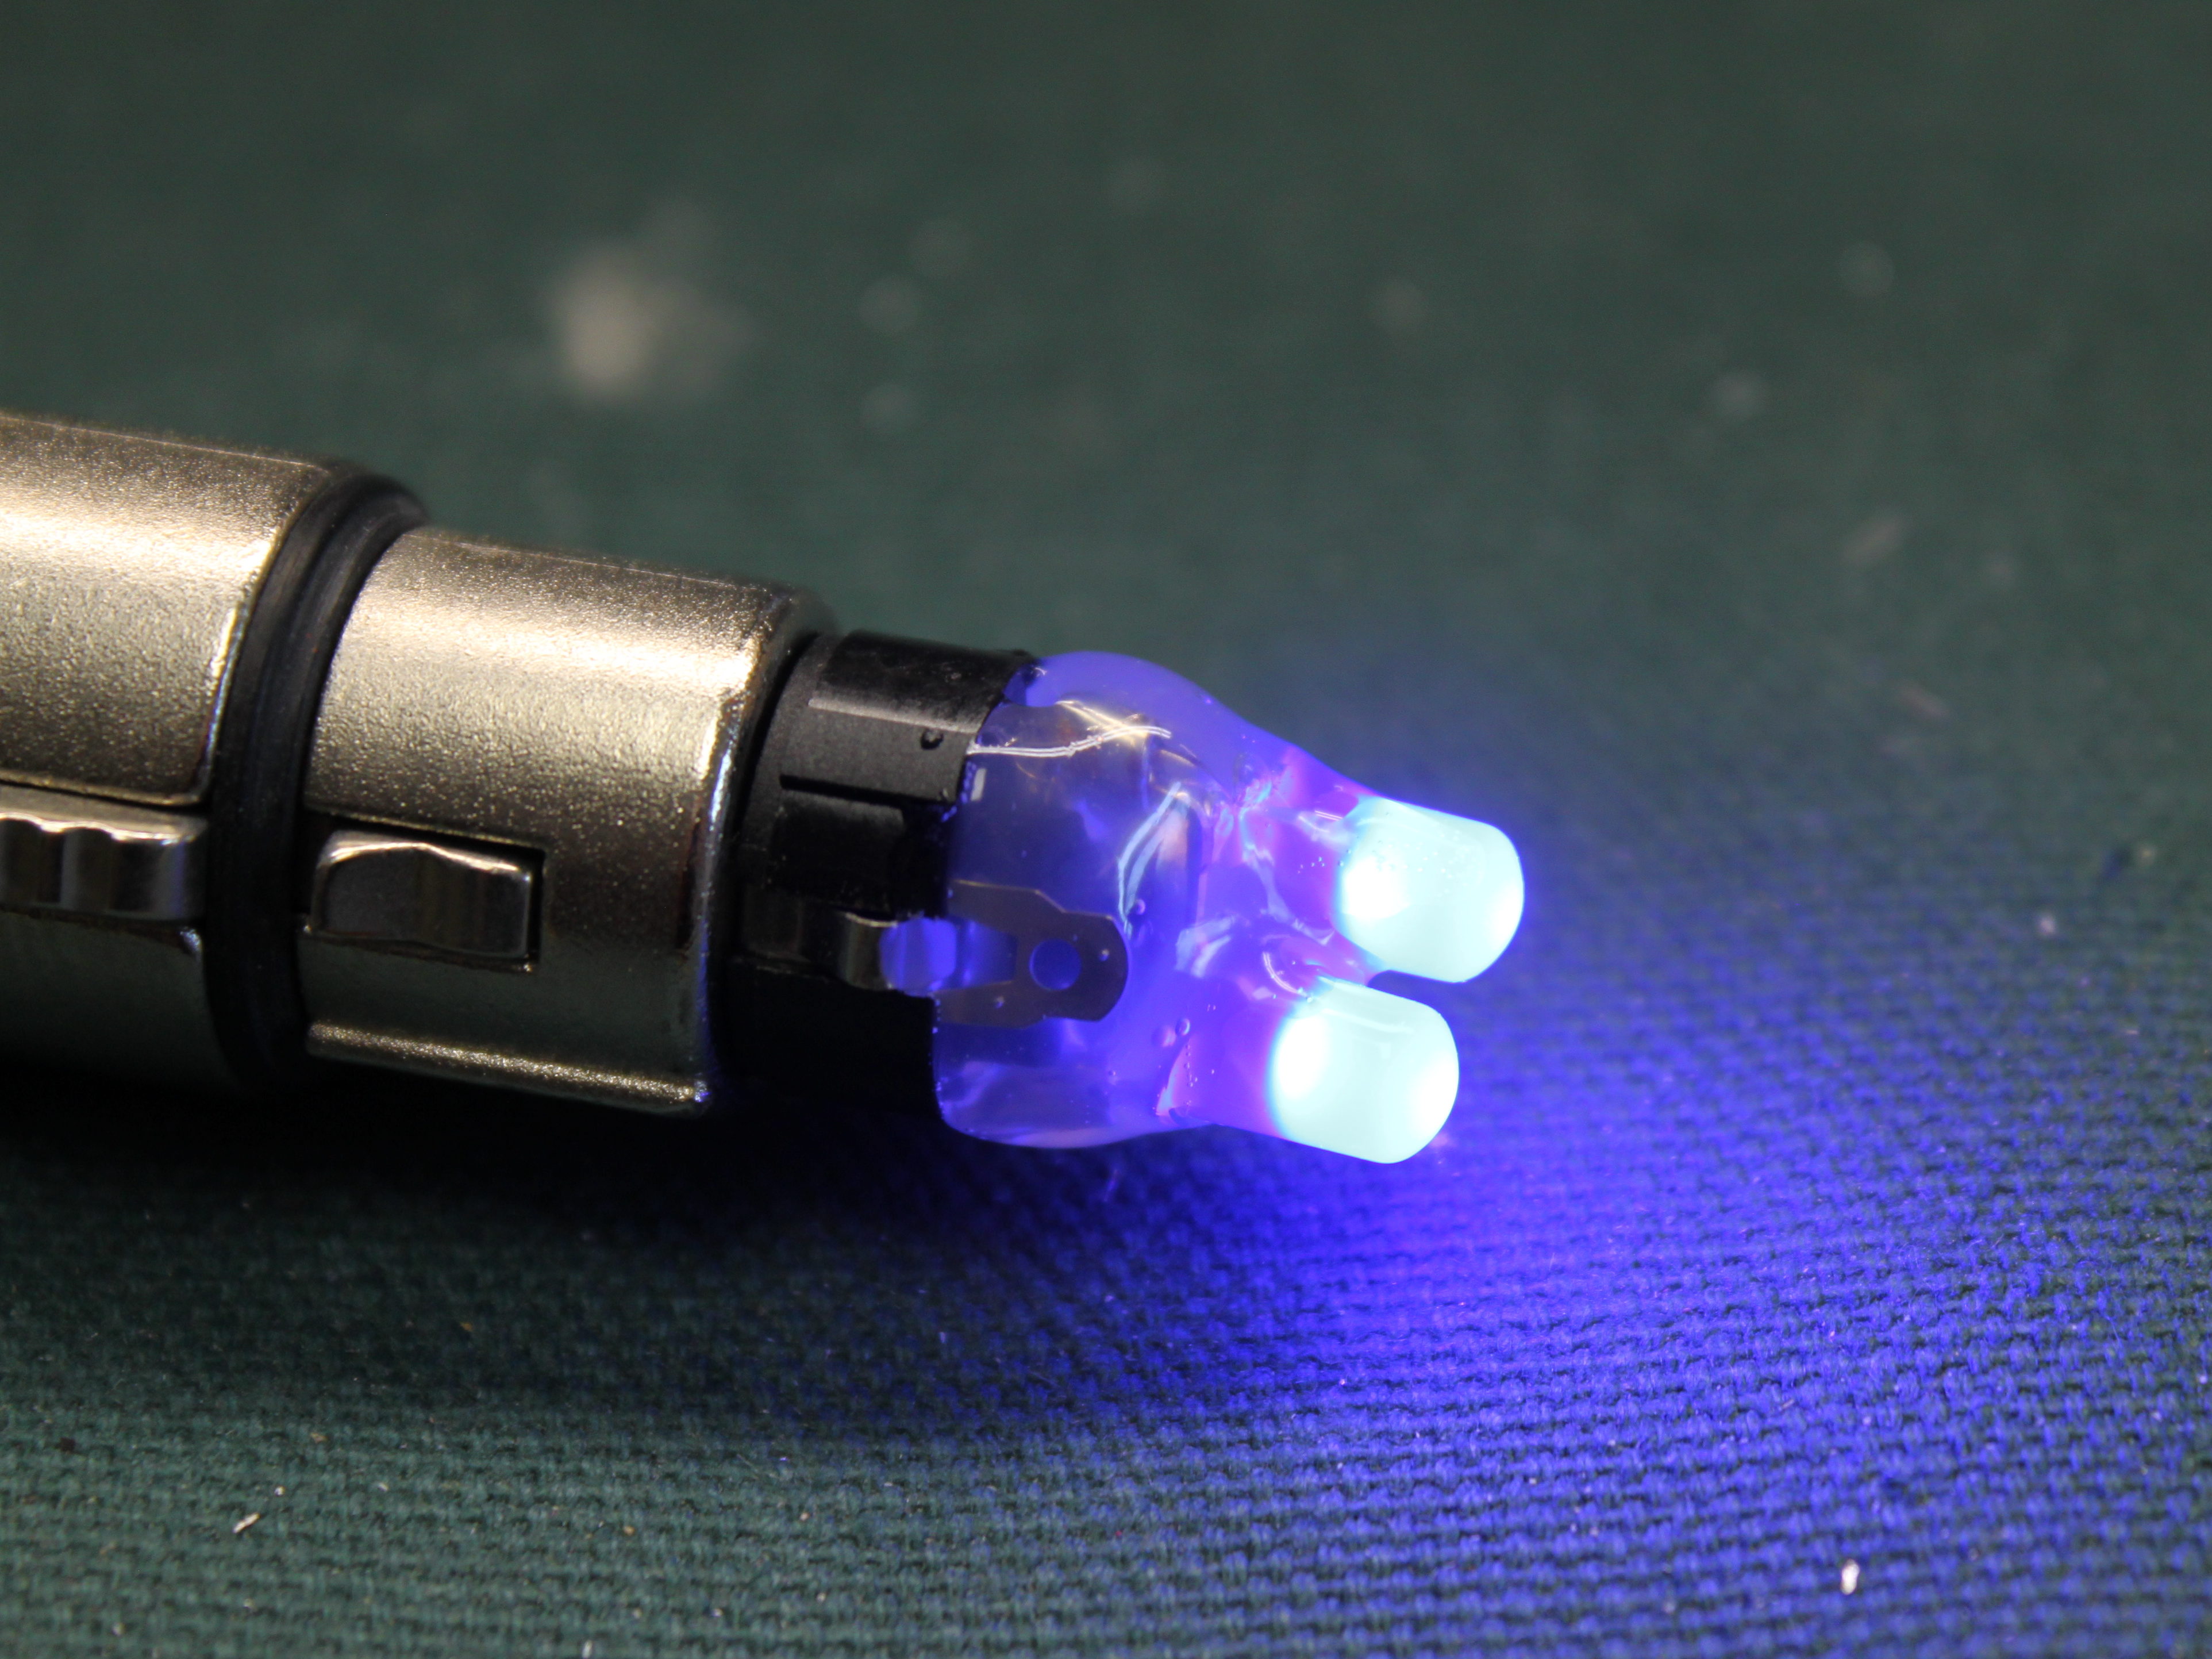
I’ve been making, using, and even giving away these little testers for years now. They cost very little to build (a male XLR and two LEDs, stuff you might even have lying around) and fit right in your toolbag or even your pocket.
How to build
The design is so simple I’m not even going to make a schematic. Each LED just goes from pin 1 to one of the other two pins. The shorter lead on an LED is the negative lead, and that goes to pin 1. That’s it!
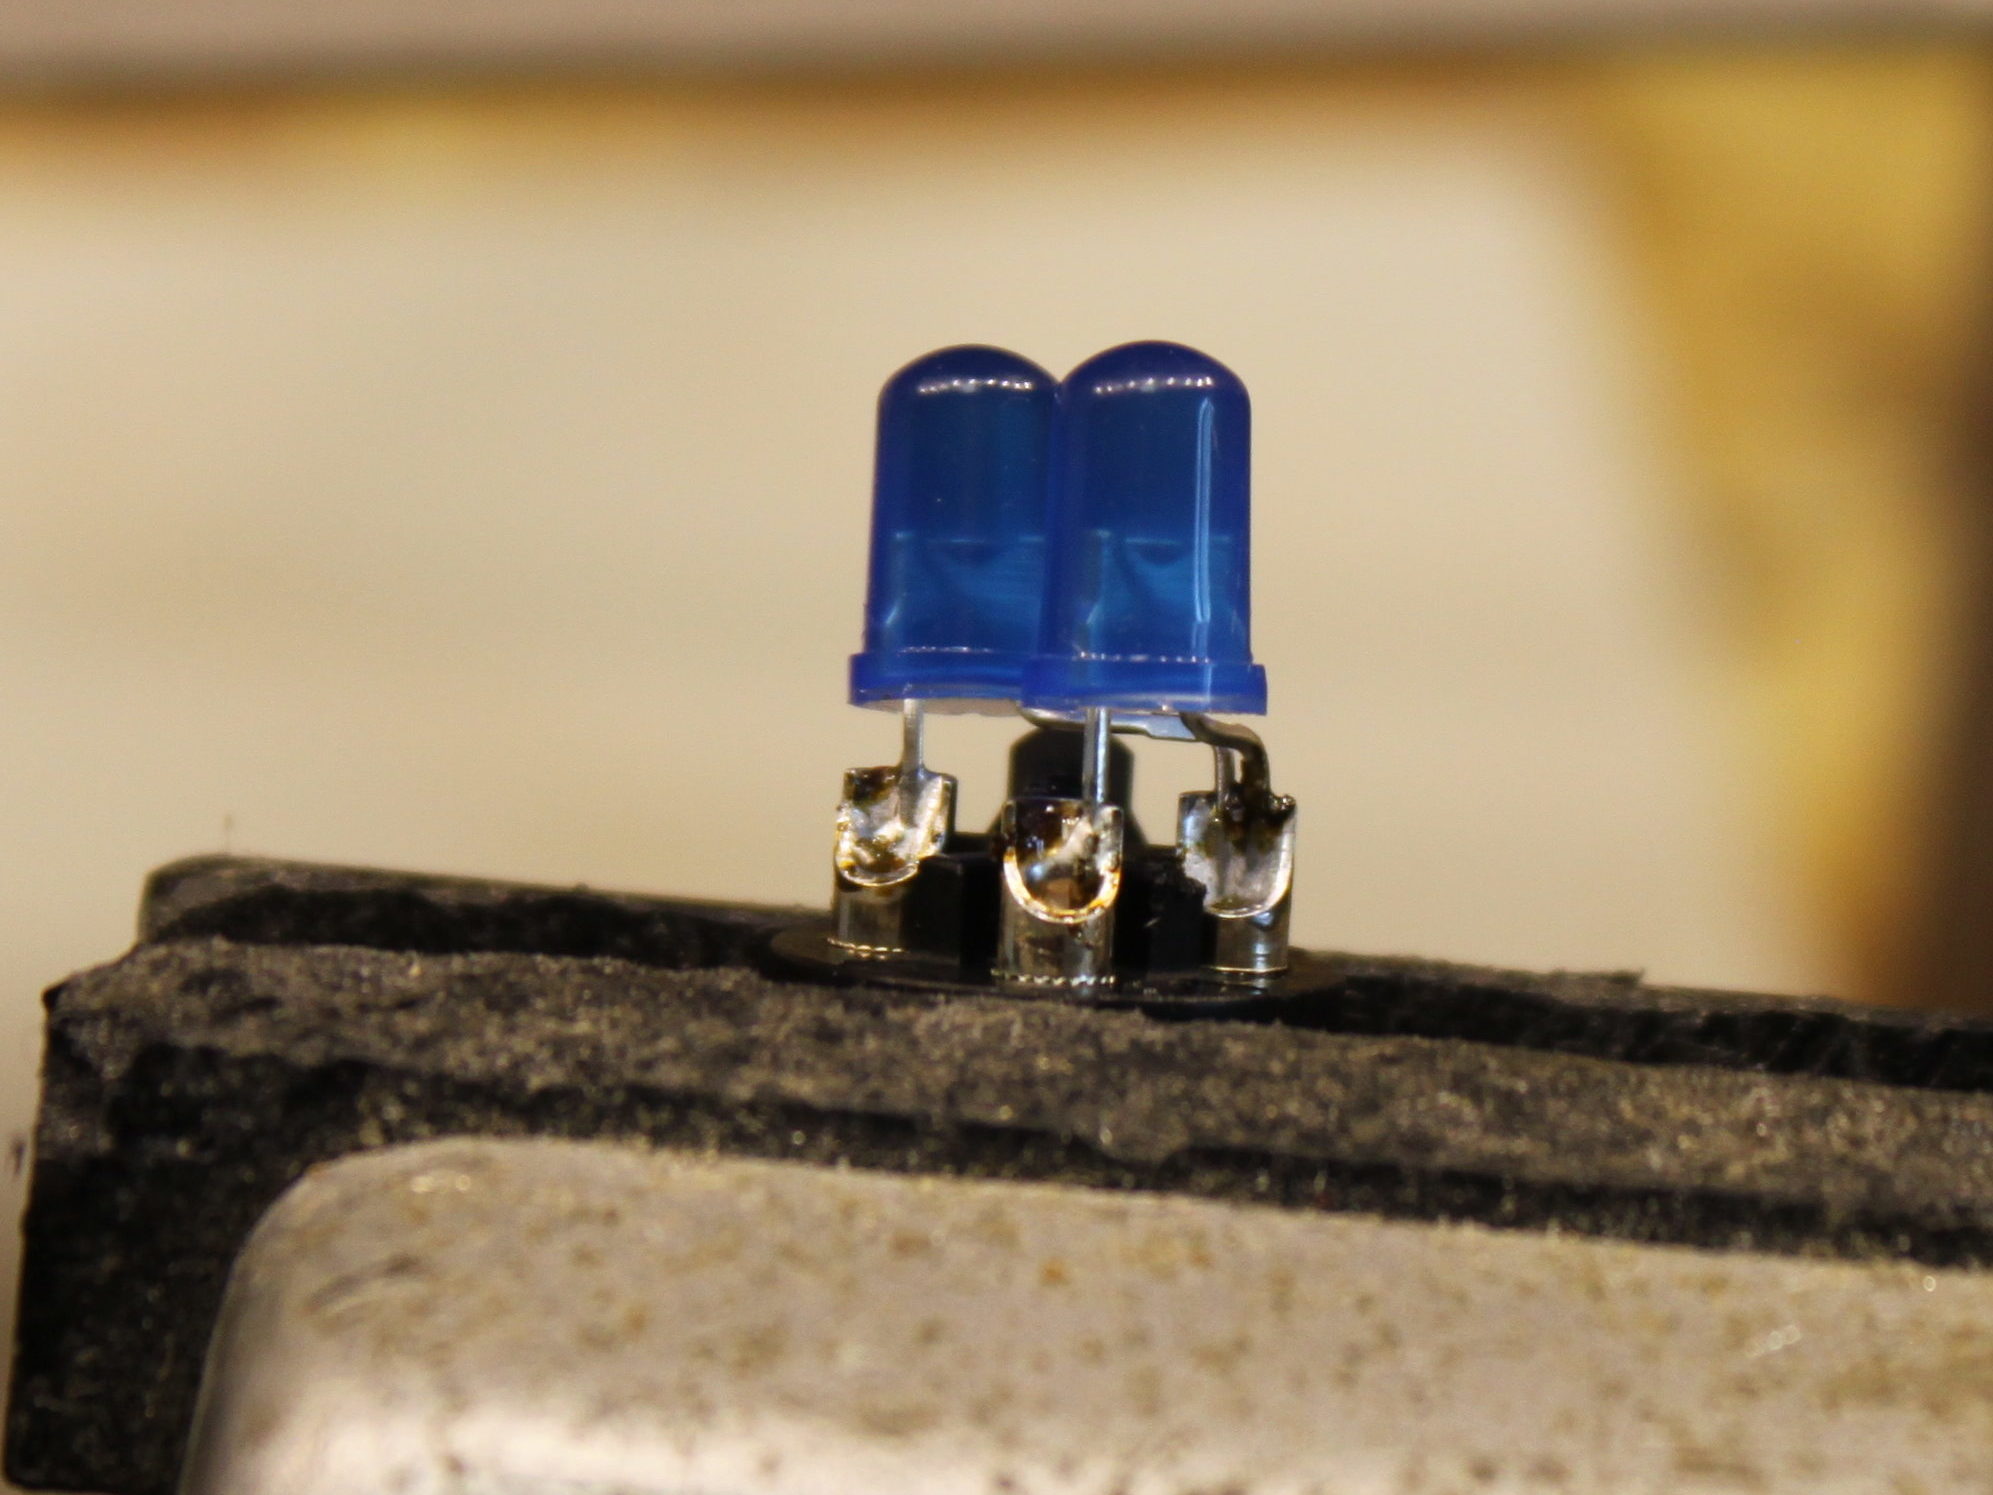
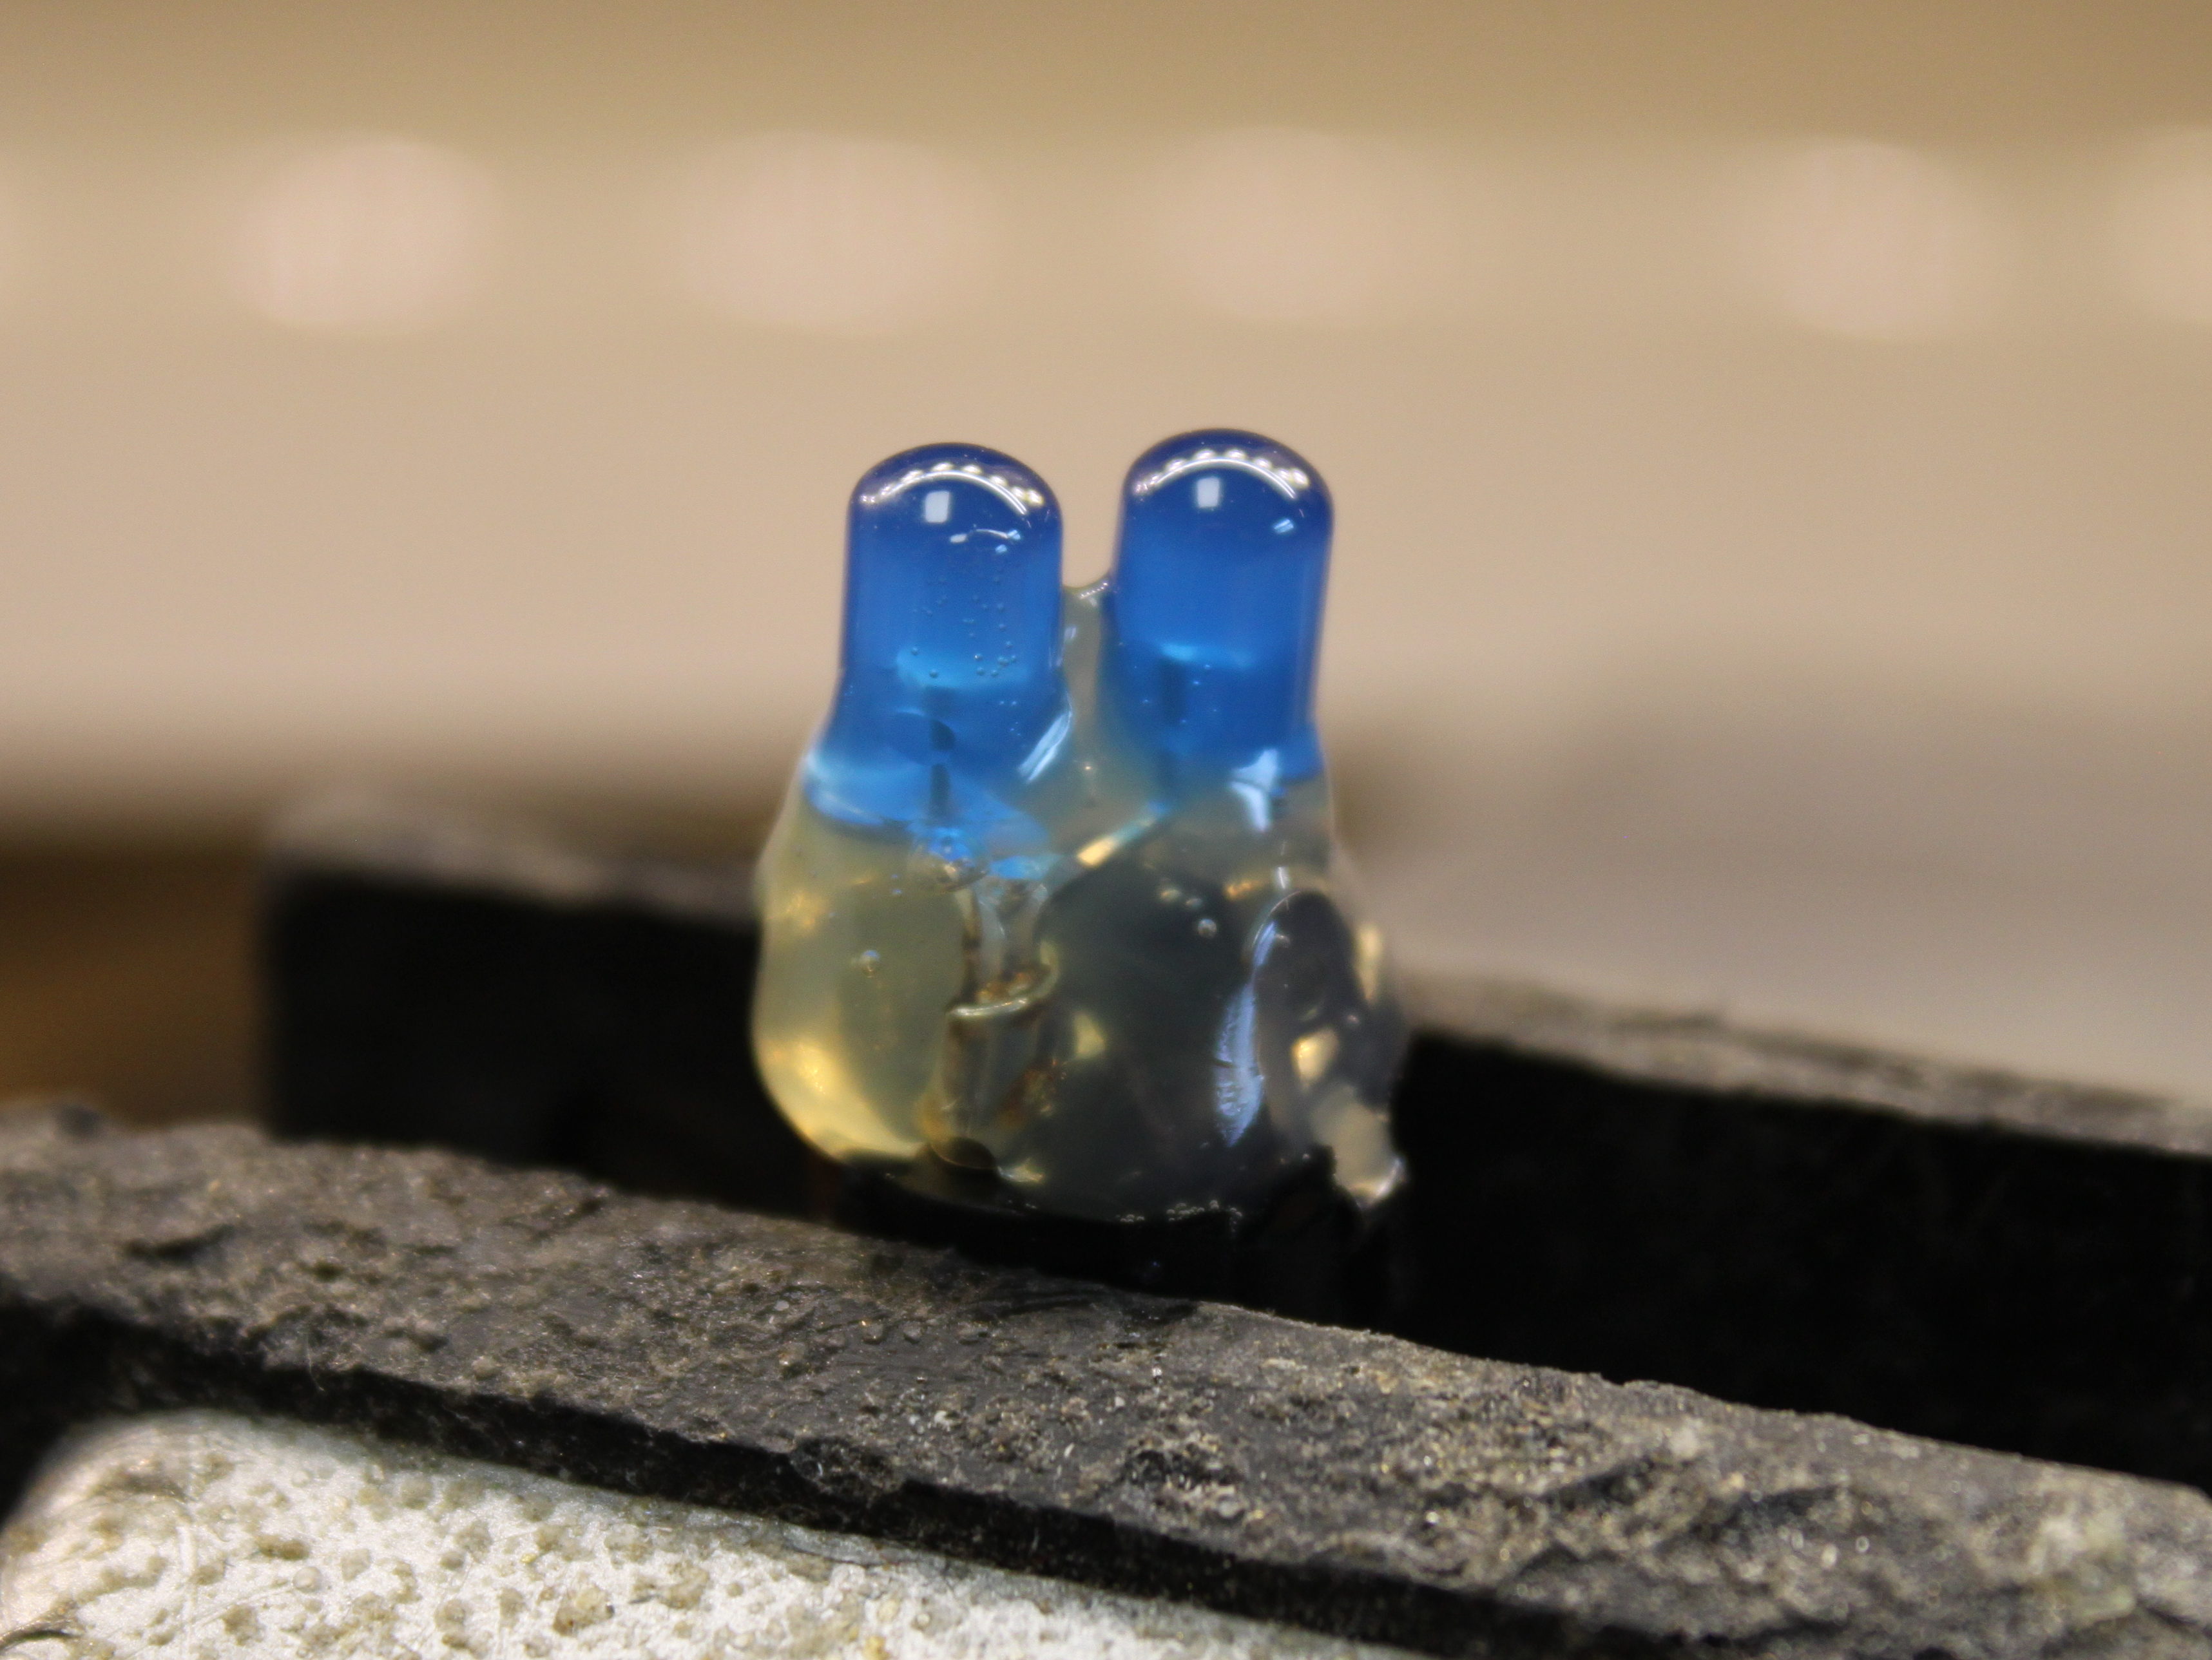
I’ve gotten pretty good at bending the leads for the closest possible fit, but that’s not too critical either. Finally, you could put the shell back on and have the LEDs poking out through the cable hole, but I just use hot glue to fill in the space and hold the LEDs in place.
If you’re used to thinking of always using an LED with a current-limiting resistor, don’t worry. The phantom power specification calls for two 6.8k resistors in the microphone input, so there’s your resistor. The effective current is about 14mA, and the voltage doesn’t really matter. You can use any color LED you like, I had some sporty-looking blue LEDs to play with. One small caveat is that the LEDs probably will get burned out at some point, due to the extremely simple design, but they are cheap and easy to replace when that happens.
How to use
Plug into a mic input that has phantom power, and the LEDs will light up! If one of the two signal lines (pins 2 and 3) isn’t connected then only one LED will light. That’s about it for features, but there are some very useful applications for this.
Just being able to test for the presence of phantom power is useful, such as when a video camera operator needs an audio feed (always at the last minute, of course) from your mixer. Here’s where you don’t want phantom on the line, possibly damaging your mixer output.
My other main use for these testers is onstage troubleshooting. If a microphone or DI doesn’t work at the line check, what might be the problem? It could be a bad mic, a bad cable, a bad snake channel, or a bad mic input on the mixer. Figuring this out quickly is critical, not only in staying on schedule but also helps you look like a real professional.
How to troubleshoot
- Unplug the source (mic or DI), plug in your tiny phantom tester right on the end of the mic cable.
- Turn phantom power on for that input, if it’s not already on.
- If both LEDs light, then the mic is bad. Problem solved.
- If only one LED lights, then one of the signal lines is bad. If neither LED lights, then the ground line is bad. Either way, just follow the cable back and keep using your tiny phantom tester. If both LEDs light at the snake input then the mic cable is bad. If both LEDs light up at the mixer input then the snake channel is bad.
- If you get all the way back to the mixer input with still no LEDs lit up, then either the mixer is bad or there is operator error. Either way you’ve been able to zero in on the problem much faster than before.
- If the problem is a missing ground somewhere (no LEDs light up), and you’re really in a hurry, just use a dynamic mic instead. Dynamic mics don’t need the ground connection to work.
The tiny phantom tester is a cheap and effective tool which you should definitely have in your bag.
For more technical tips, sign-up for our email newsletter!
![]()