Originally posted on the Meyer Sound website: https://meyersound.com/news/krannert-center/
Situated on the campus of the University of Illinois at Urbana-Champaign, the Krannert Center for the Performing Arts serves not only as a world-class venue for visiting artists and student ensembles but also as a hands-on learning facility for the school’s sound design programs. Last summer, the Center took a major leap ahead in furthering both missions with installation of a multi-faceted Meyer Sound solution that encompasses Constellation active acoustics, surround sound systems with Spacemap control, and a main reinforcement system based on LINA line array loudspeakers.
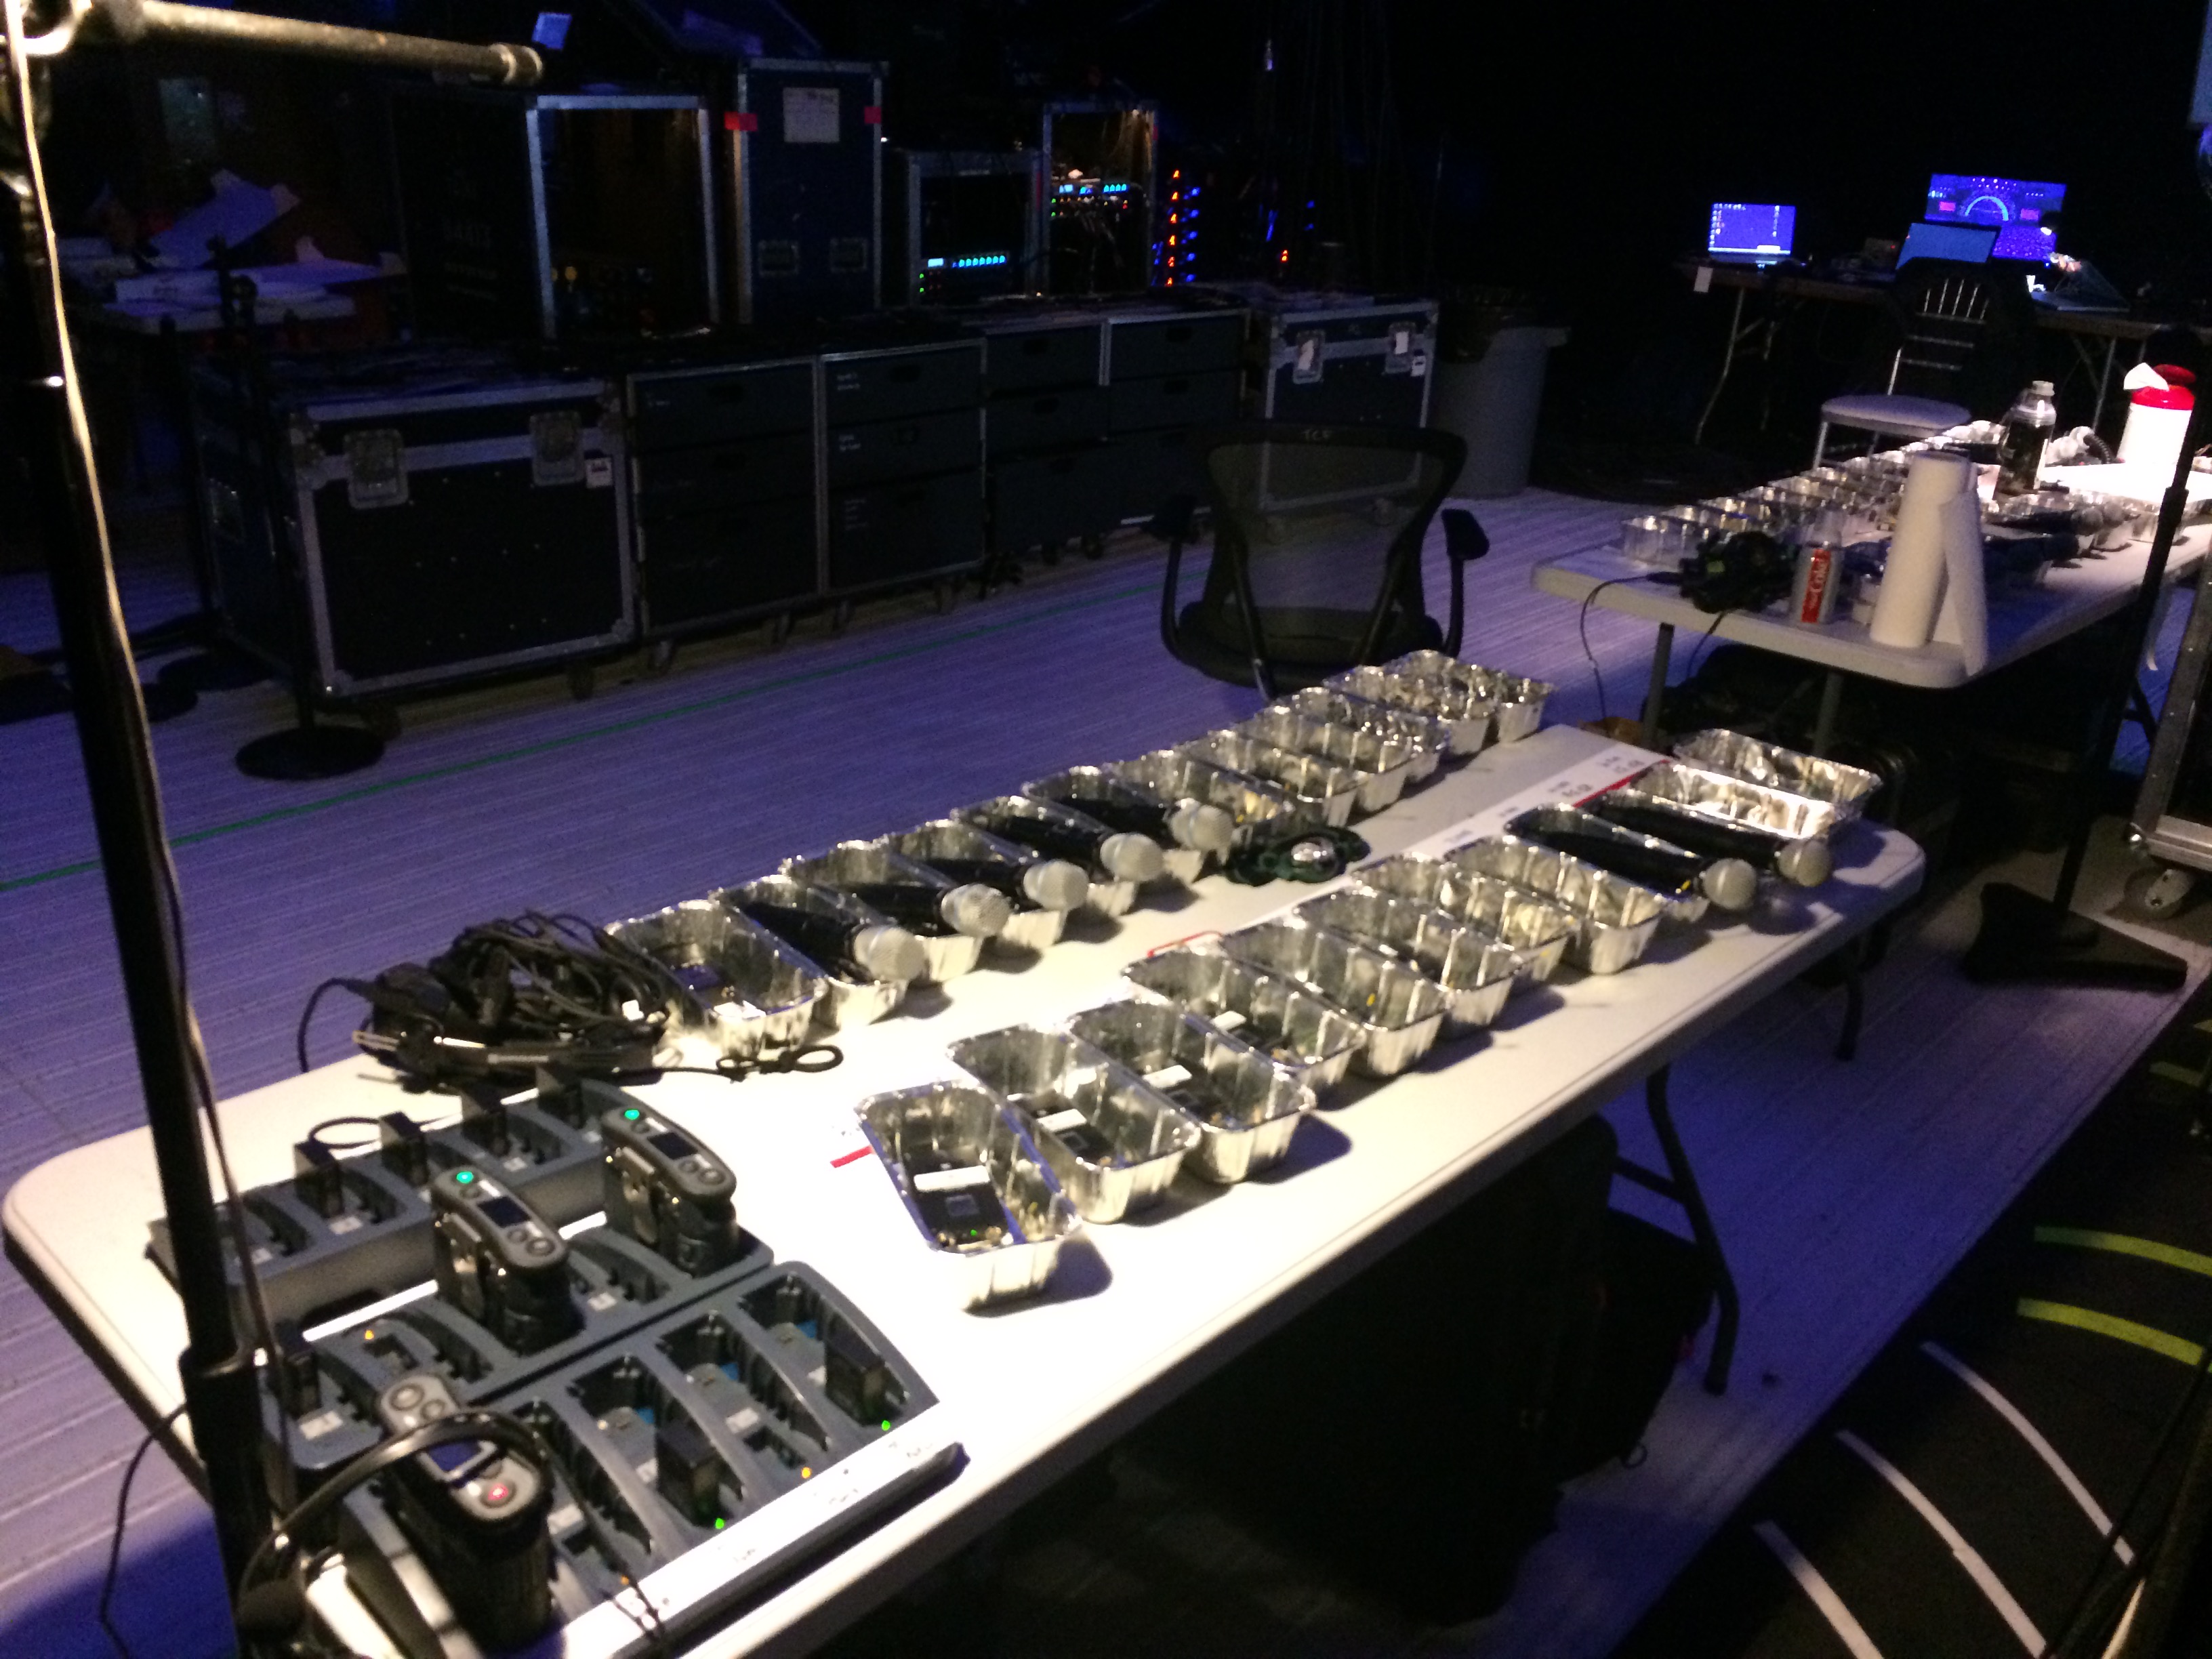
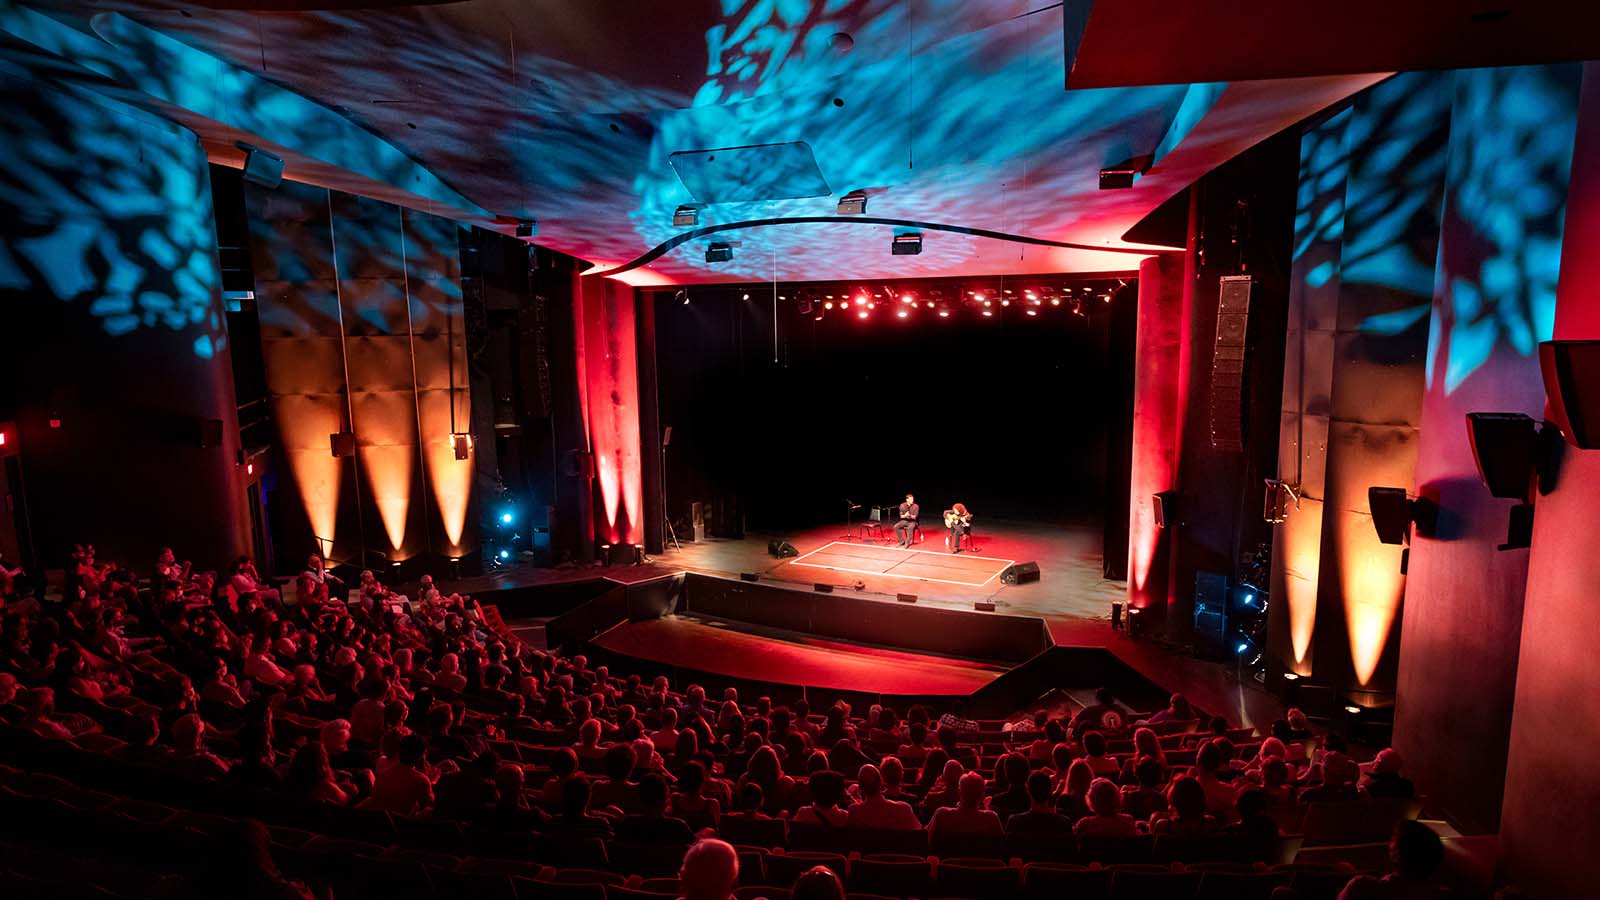
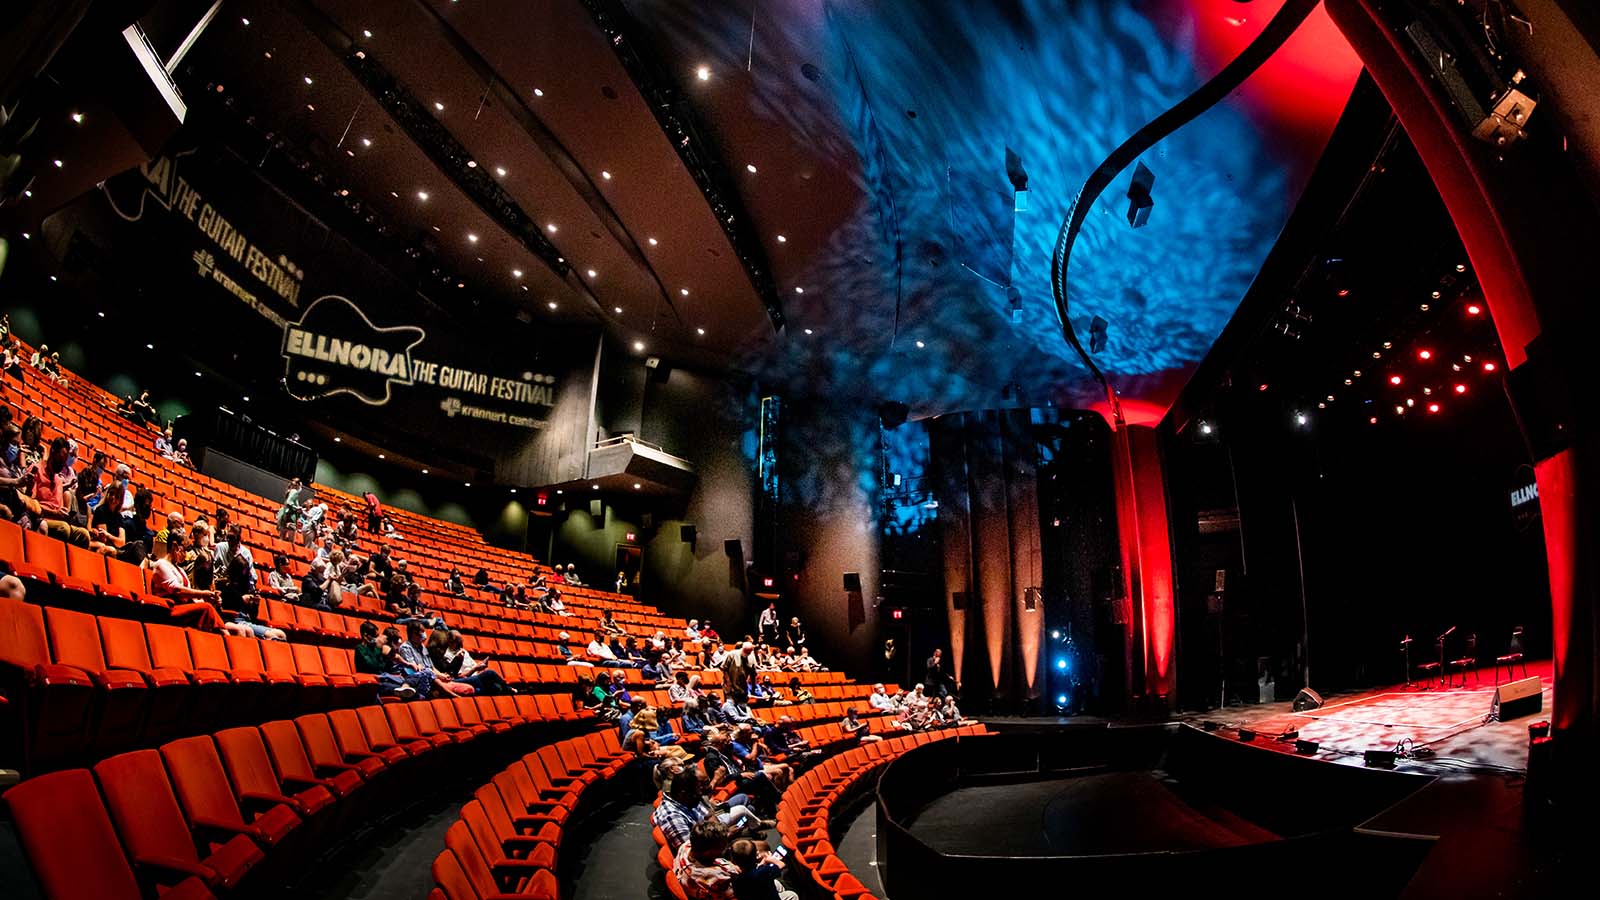
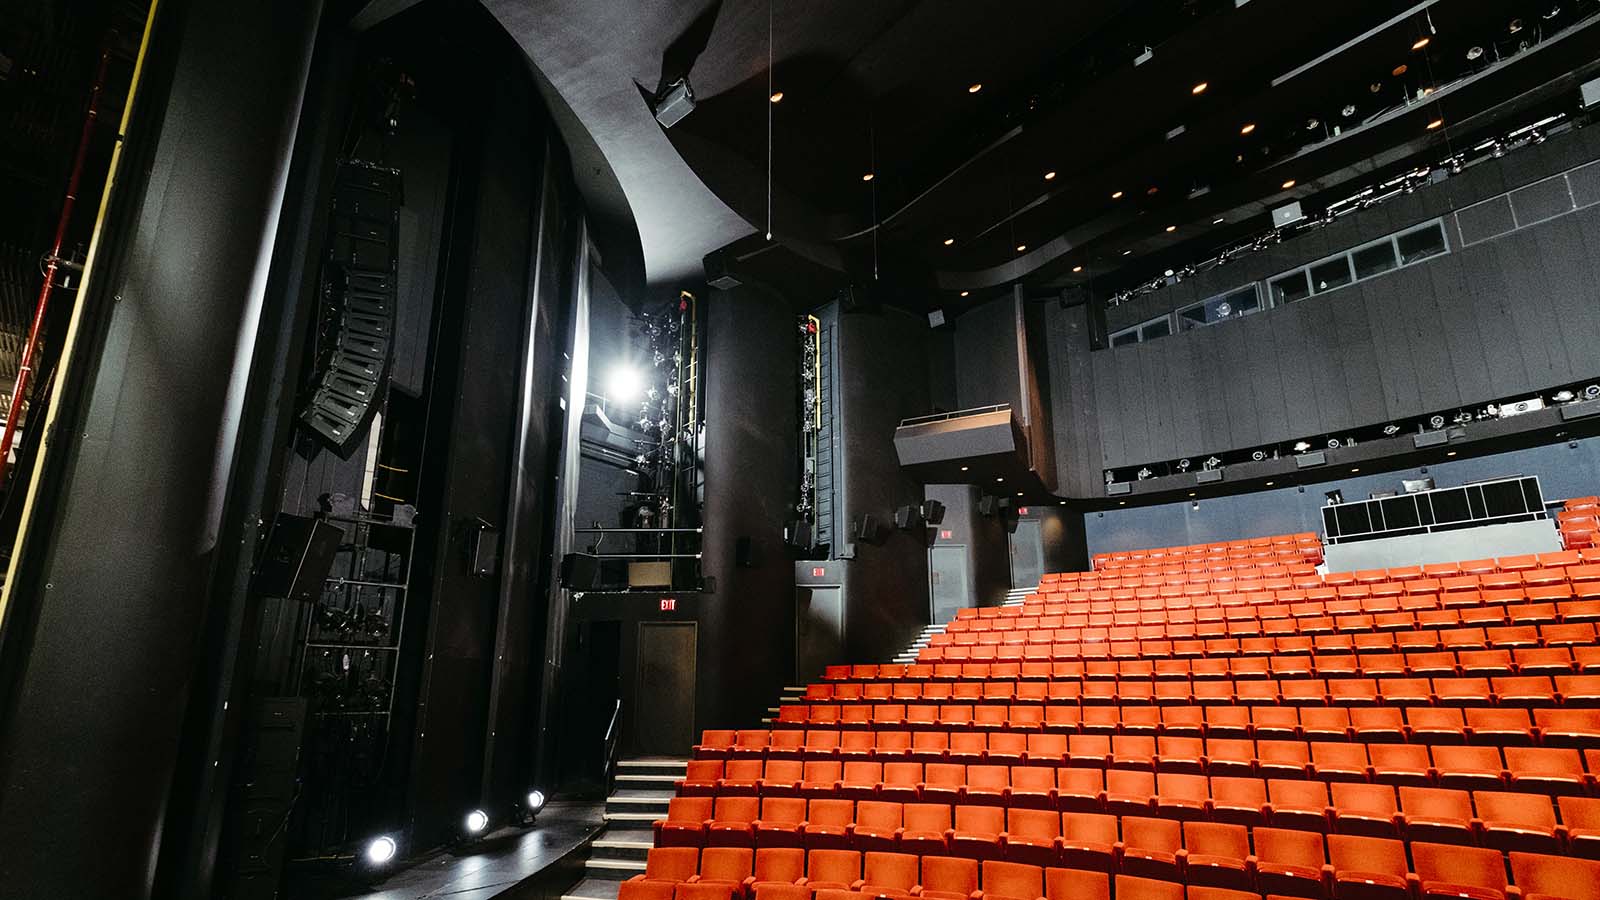
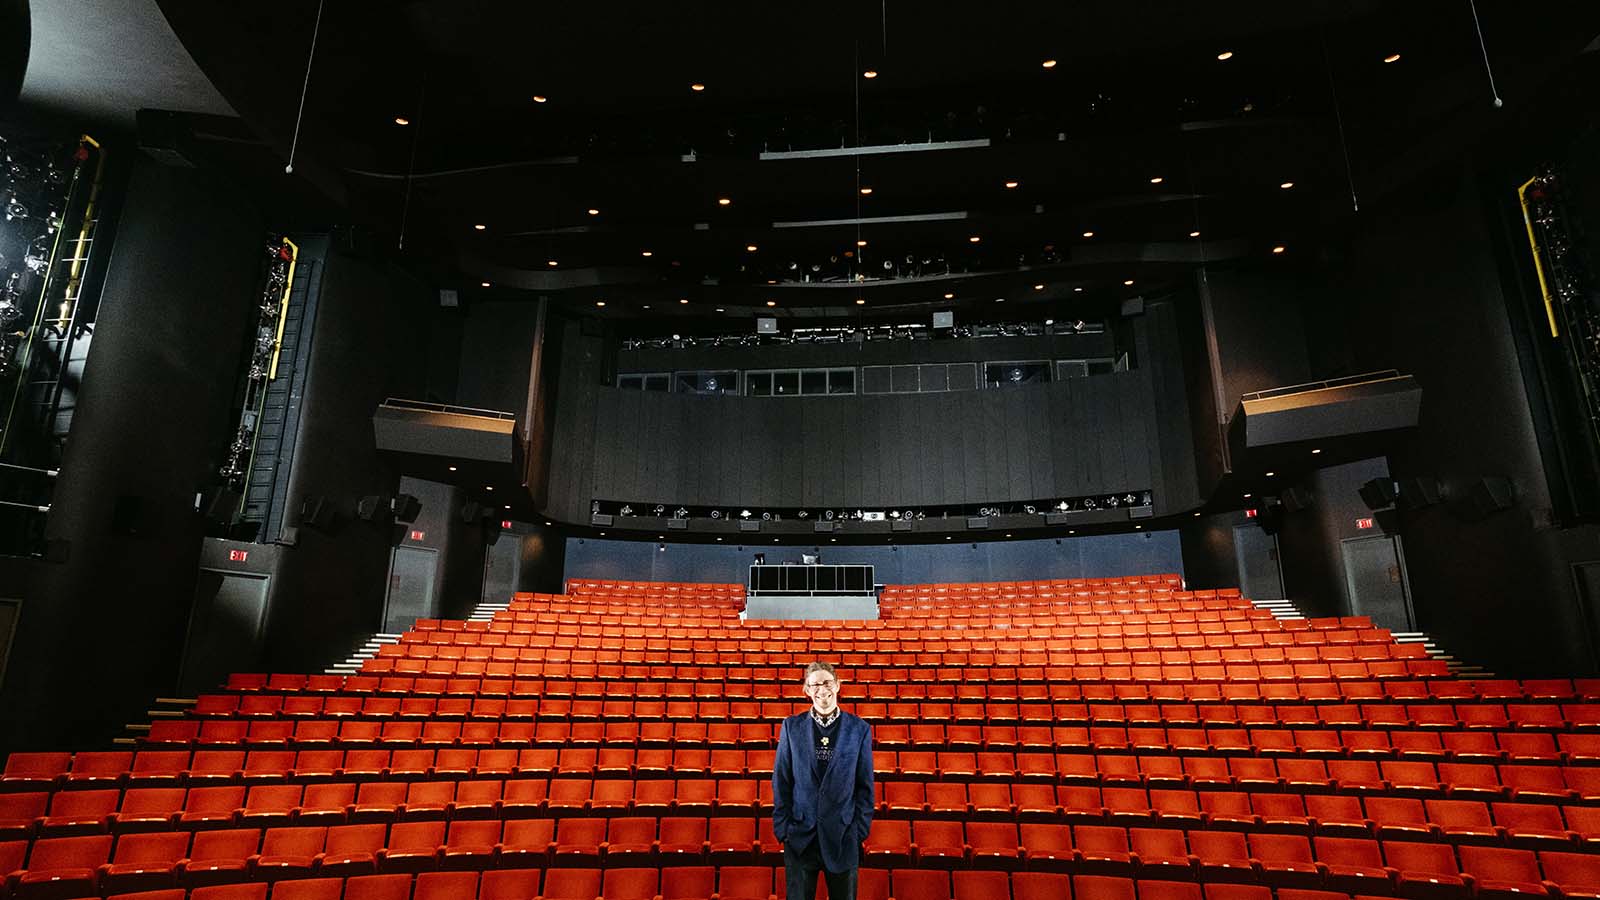
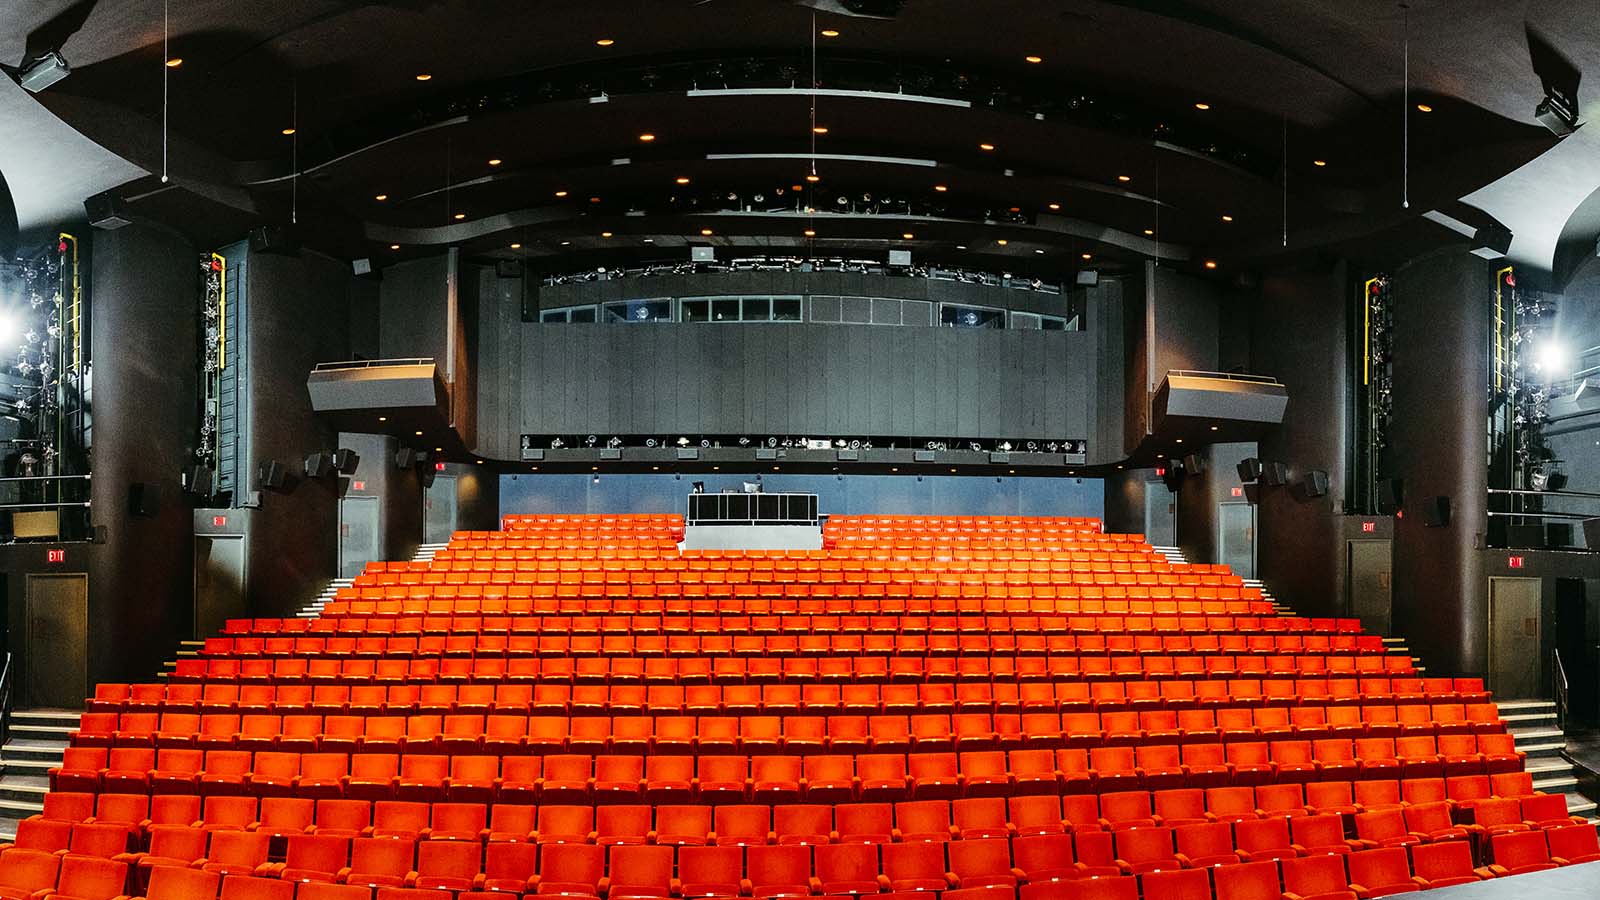
The new systems, supplied by Chicago-area integrator TC Furlong, Inc., were installed in the 674-seat Colwell Playhouse, one of four venues in the expansive Krannert Center.
The 2021 project is the first in a series of upgrades planned by Rick Scholwin, who doubles as both the Center’s director of audio services and Chair of the university’s sound design program.
“When I accepted this position, my goal was to support artists with technology that is the best available in the world,” says Scholwin, “while also giving students hands-on experience with systems that are on the cutting edge and will be current long into the future.”
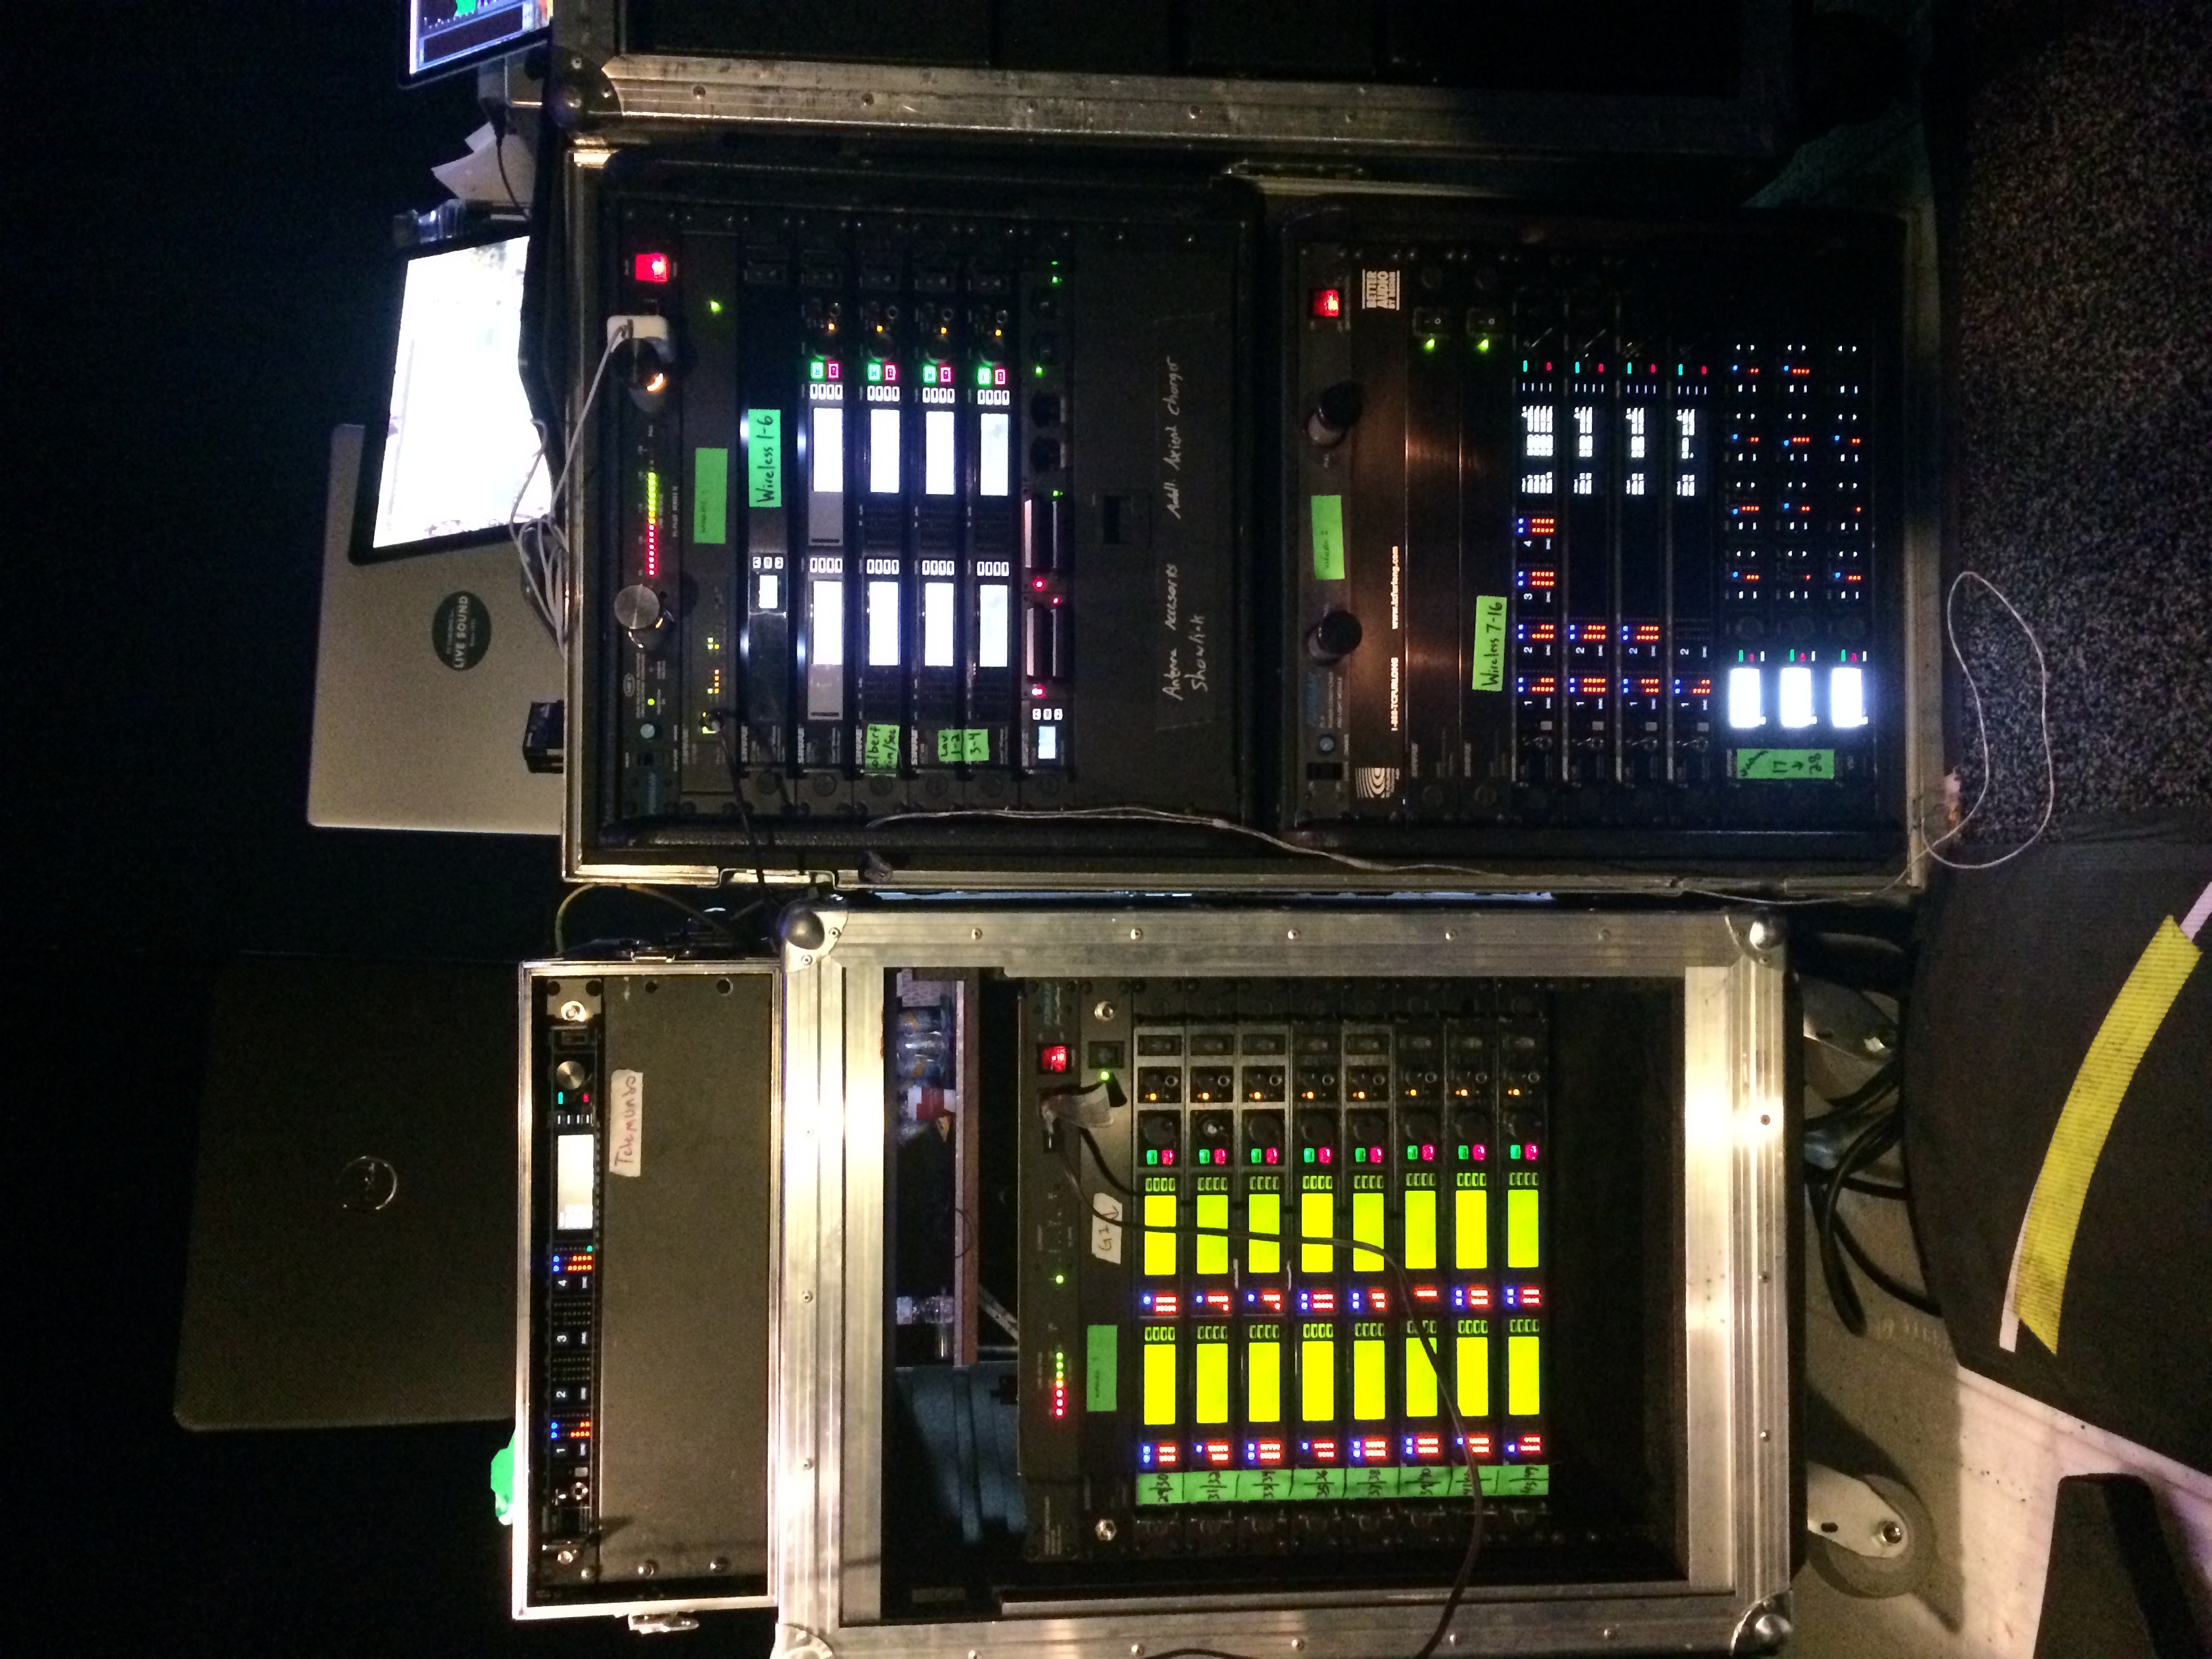
At the foundation of the complete audio makeover is a Constellation acoustic system comprising 99 distributed loudspeakers, 27 microphones for sensing ambient acoustics, and 21 D‑Mitri digital audio modules. Three processors are devoted to hosting the patented VRAS algorithm for generating natural acoustical environments across the hall’s three discrete zones.
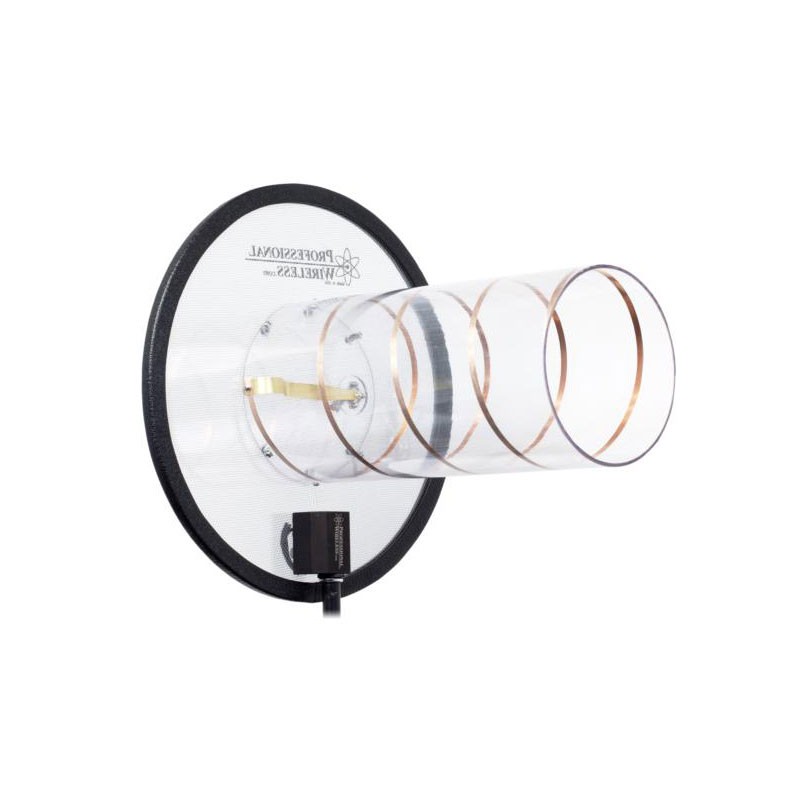
The self-powered loudspeaker complement for Constellation and immersive systems includes Meyer Sound Ashby‑8C, UPM‑1XP, UPJunior-XP, and UPJ‑1XP full-range models along with UMS-1XP subwoofers.
“Everybody on campus is excited about the new acoustical flexibility and rightfully so,” comments Scholwin. “The Colwell was designed principally for theater and spoken word events, with a reverberation time of a little over one second. But now we can, for example, emulate the acoustics of Krannert’s Great Hall, with a 2.8 second RT for orchestral music, we can extend that even further for choral works. Now we are blowing the doors off the programming possibilities. We can do opera in here, or host a bluegrass band with one microphone and let the active acoustics fill the room as if it were the Ryman Auditorium.”
For advanced theatrical sound design, the self-powered loudspeaker systems can be instantly configured to work with the Spacemap sound design software, enabling both immersive effects and dynamic panning of discrete sounds across any and all locations. “If we want to fly a bumblebee around the room, we can do that easily,” says Scholwin.
The Colwell Playhouse’s new direct reinforcement system, which functions separately from Constellation, is anchored by twin arrays of eight each LINA line array loudspeakers, with each array flown under two 750‑LFC low-frequency control elements. Two ULTRA‑X40 compact loudspeakers serve as the center cluster, and three additional 750-LFC elements on the floor augment the low-frequency thrust.
The new systems made their debut at the post-pandemic return of the Krannert Center’s highly regarded Ellnora Guitar Festival. Artists supported by the new systems included The Punch Brothers (neo-bluegrass), Katie Pruitt (Americana), Adam del Monte with Sonia Olla and Ismael Fernández (flamenco), Isaiah Sharkey (multi-genre), and Cedric Burnside (blues). Other performances hosted by the venue include drama (The Neverland), dance (Tango Argentina), and Afro-Cuban Jazz (Jane Bunnett and Maqueque).
In addition to supporting a diversity of performance genres, the new systems afford extraordinary learning opportunities for the school’s BFA and MFA sound design students, says Scholwin. “This is a merging of professional arts technologies and education at the highest level. They will leave here with an in-depth, theoretical, and practical knowledge of large-scale immersive systems. They can master all they need to know to step into high-level positions.”
Krannert Center Director Mike Ross played a pivotal role in securing funding for the new systems, and he is elated with the outcome. “What I’ve experienced in the Colwell Playhouse has been utterly inspiring. In addition to greatly enhancing live performances in support of our public engagement mission, the new systems will be a tremendous asset in support of our educational mission, vis-à-vis training students pursuing sound-related career paths in the performing arts.”
Other key contributors to the project on behalf of the Krannert Center were Assistant Audio Director/Video Director Alec LaBau (also on the university’s sound design faculty) and Theatre Audio and Media Specialist Keith Norton. Handling logistics and technical coordination for TC Furlong, Inc., were General Manager Jeff Cech and President TC Furlong.
First opened in 1969, the Krannert Center for the Performing Arts was made possible by a large donation from University of Illinois alumnus Herman Krannert and his wife, Ellnora. The facility was designed by architect Max Abramovitz, also an alumnus of the university.
Interested in Meyer Sound solutions? Reach out to our Sales Team at 847-367-9588 or sales@tcfurlong.com for more information, pricing, & design support.
We also provide Meyer Sound products in our rental inventory, and our experienced Project Managers can help design an optimized system for your next show. Reach out to them today at 847-367-9588 or rentals@tcfurlong.com to get started.