Yamaha Launches RIVAGE PM5 and RIVAGE PM3 Digital Mixing Systems
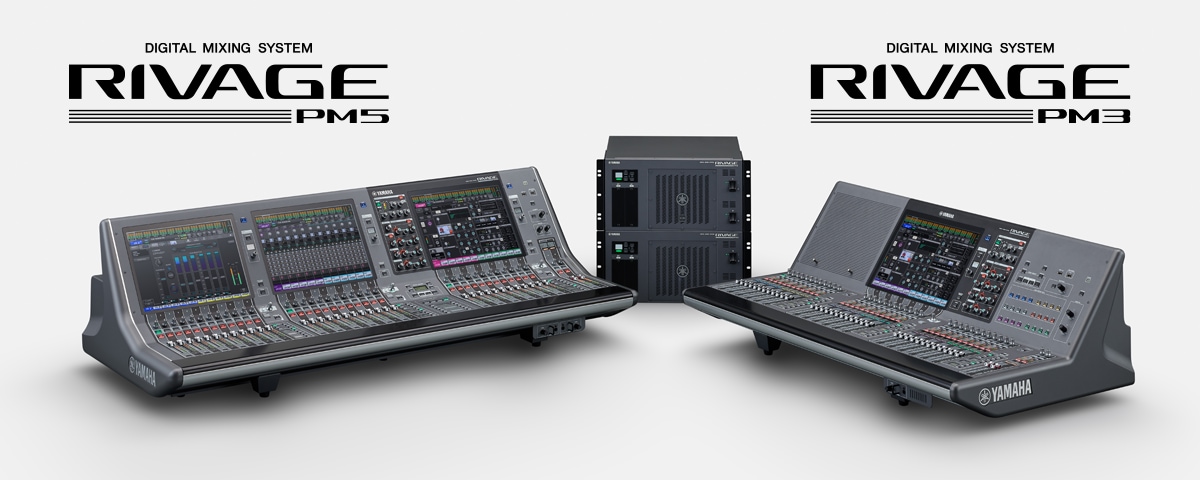
Yamaha recently announced the significant expansion of the RIVAGE PM Series digital mixing console family with the addition of the PM5 and PM3 control surfaces, and the DSP-RX and DSP-RX-EX DSP engines.
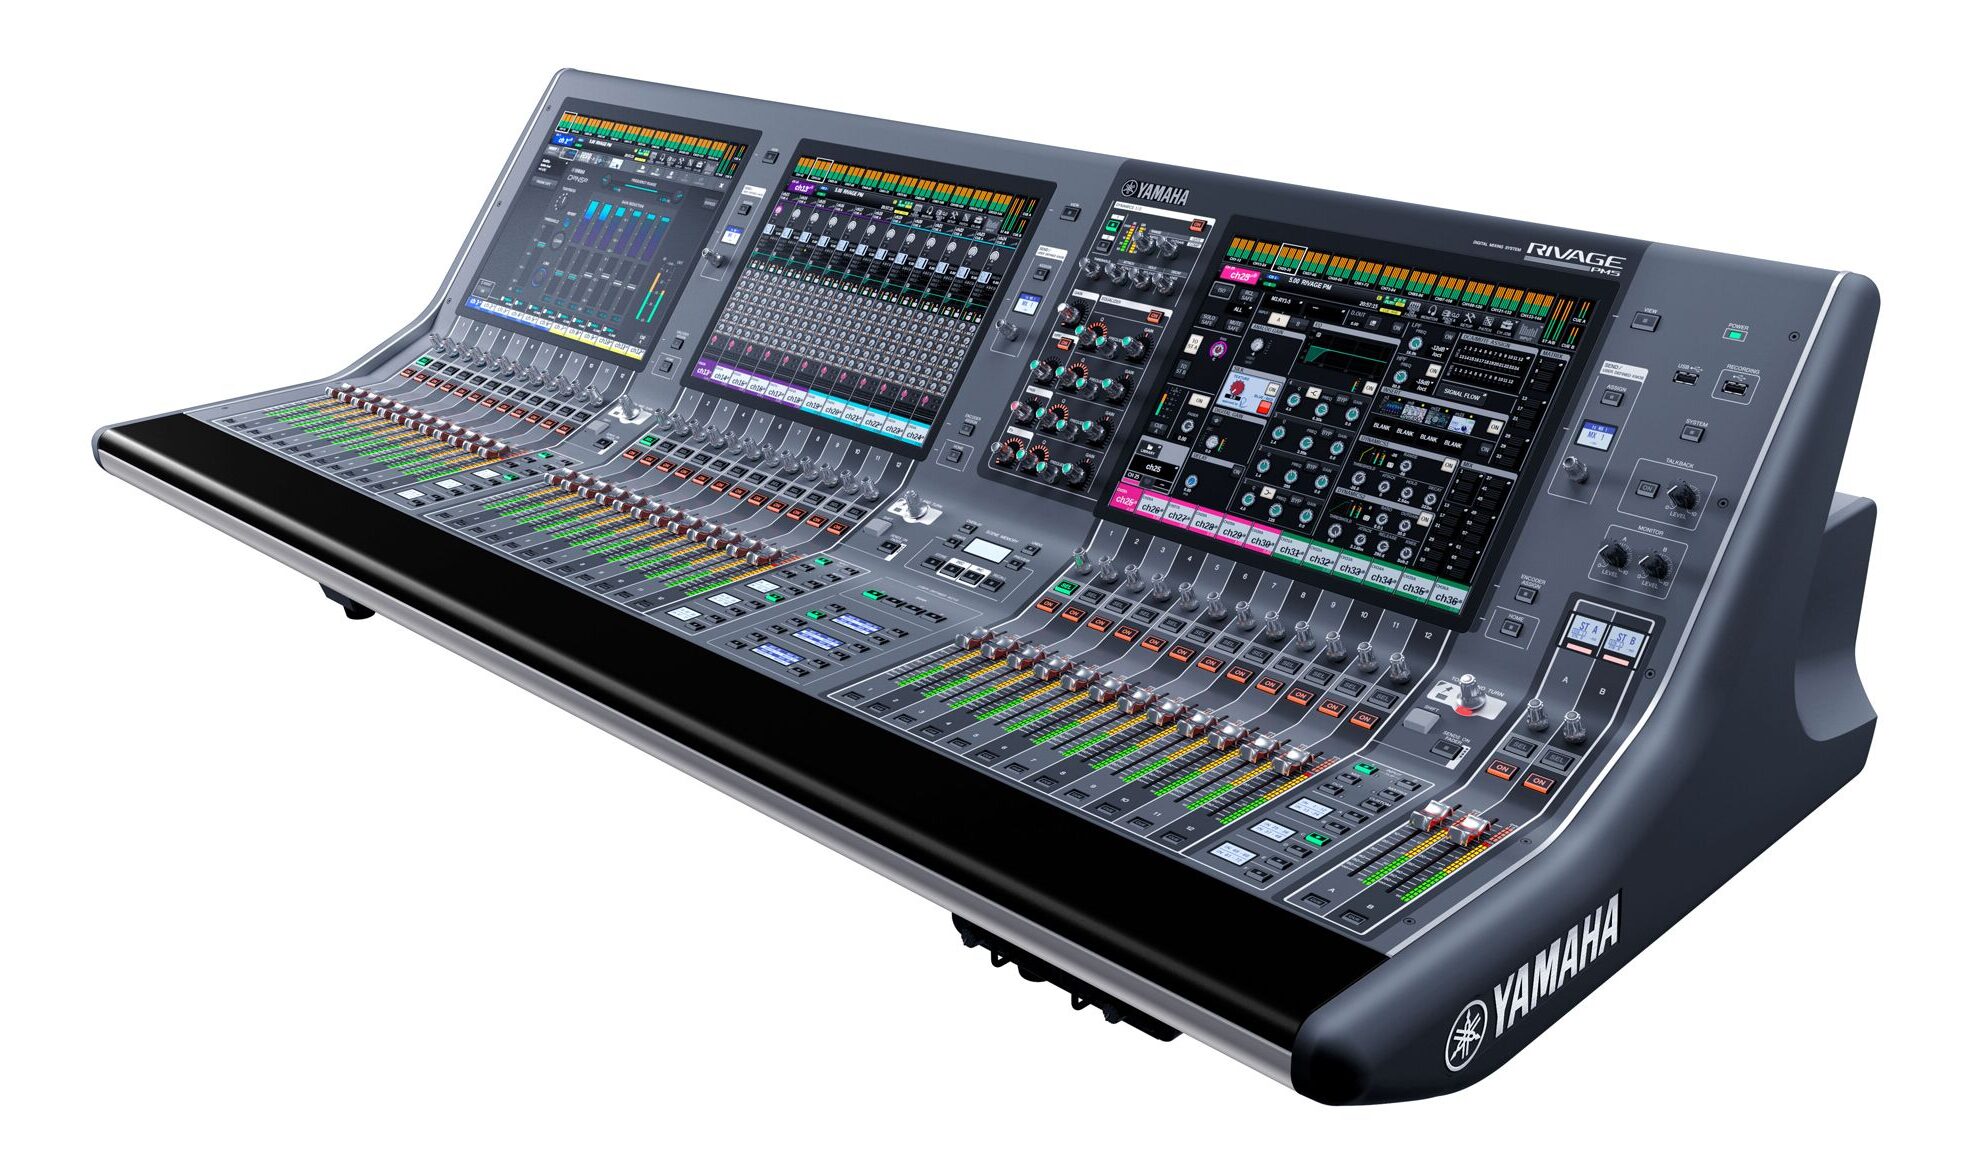
RIVAGE PM5
The PM5 is the latest in the evolution of the RIVAGE PM Series control surfaces. In a similar layout to the RIVAGE predecessors, the PM5 features 3 Centralogic style bays, but now with a total of 3 large, capacitive touchscreens to allow for multi-finger gestures. Yamaha has reduced the number of knobs in the third bay to reduce the overall footprint and make room for the integrated third screen. Additionally, meters that were previously above each channel’s ON button have been moved to be along the length of the fader for higher visibility and granularity. Channel scribble strips have been removed – replaced with naming along the lower sections of the screen – bringing the touchscreens closer to the user for a more efficient reach across the entire console.
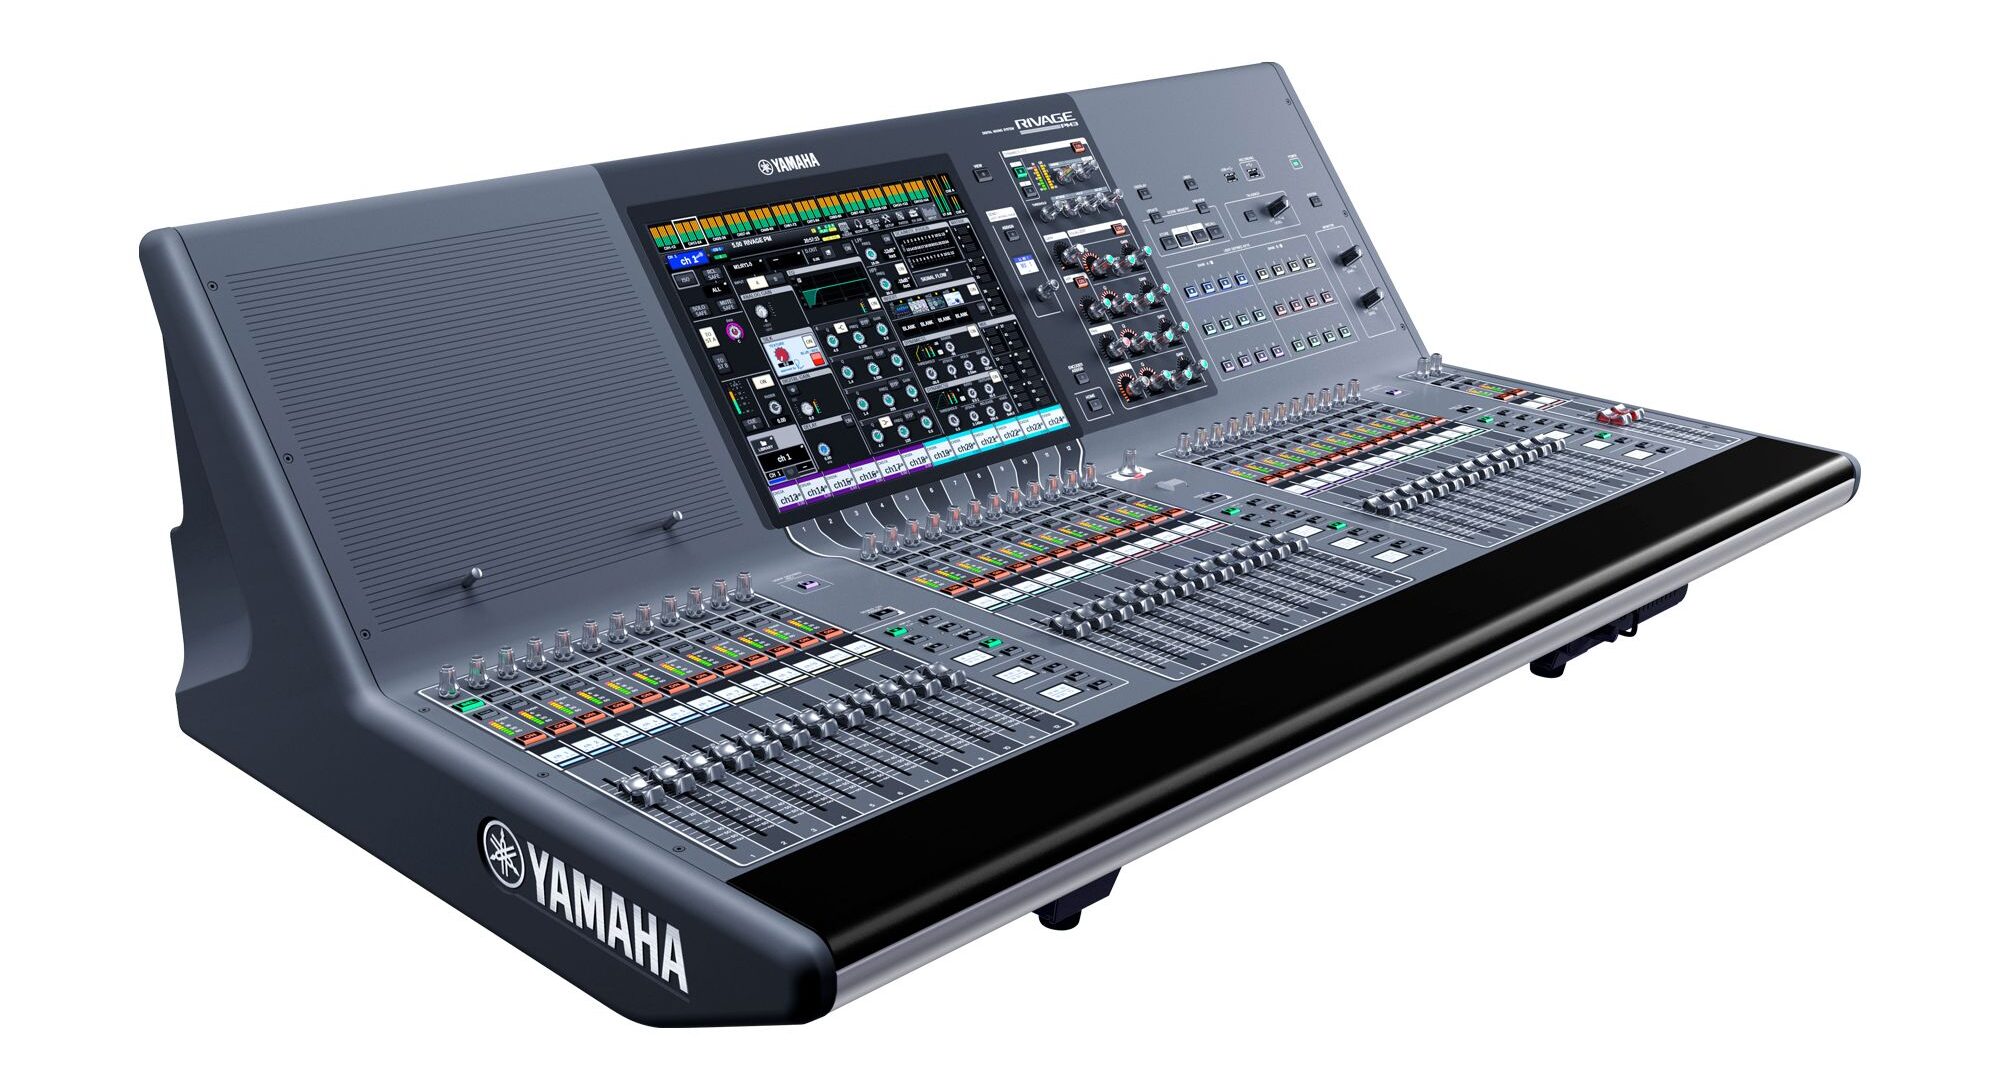
RIVAGE PM3
The PM3 scales things down with a 45-inch-wide surface (only slightly wider than a CL5 digital mixer) but retains the 38 faders – three bays of 12, with two masters – found on the PM10, PM7, and PM5. Featuring a single, multi-gesture touch-panel display and condensed selected channel section, the PM3 is ideal for users needing a compact surface that packs the full punch of the RIVAGE series. Although slimmer in size, the console is compatible with both new DSP engines and does not compromise in I/O capabilities, including up to 288 input channels when paired with the DSP-RX-EX.
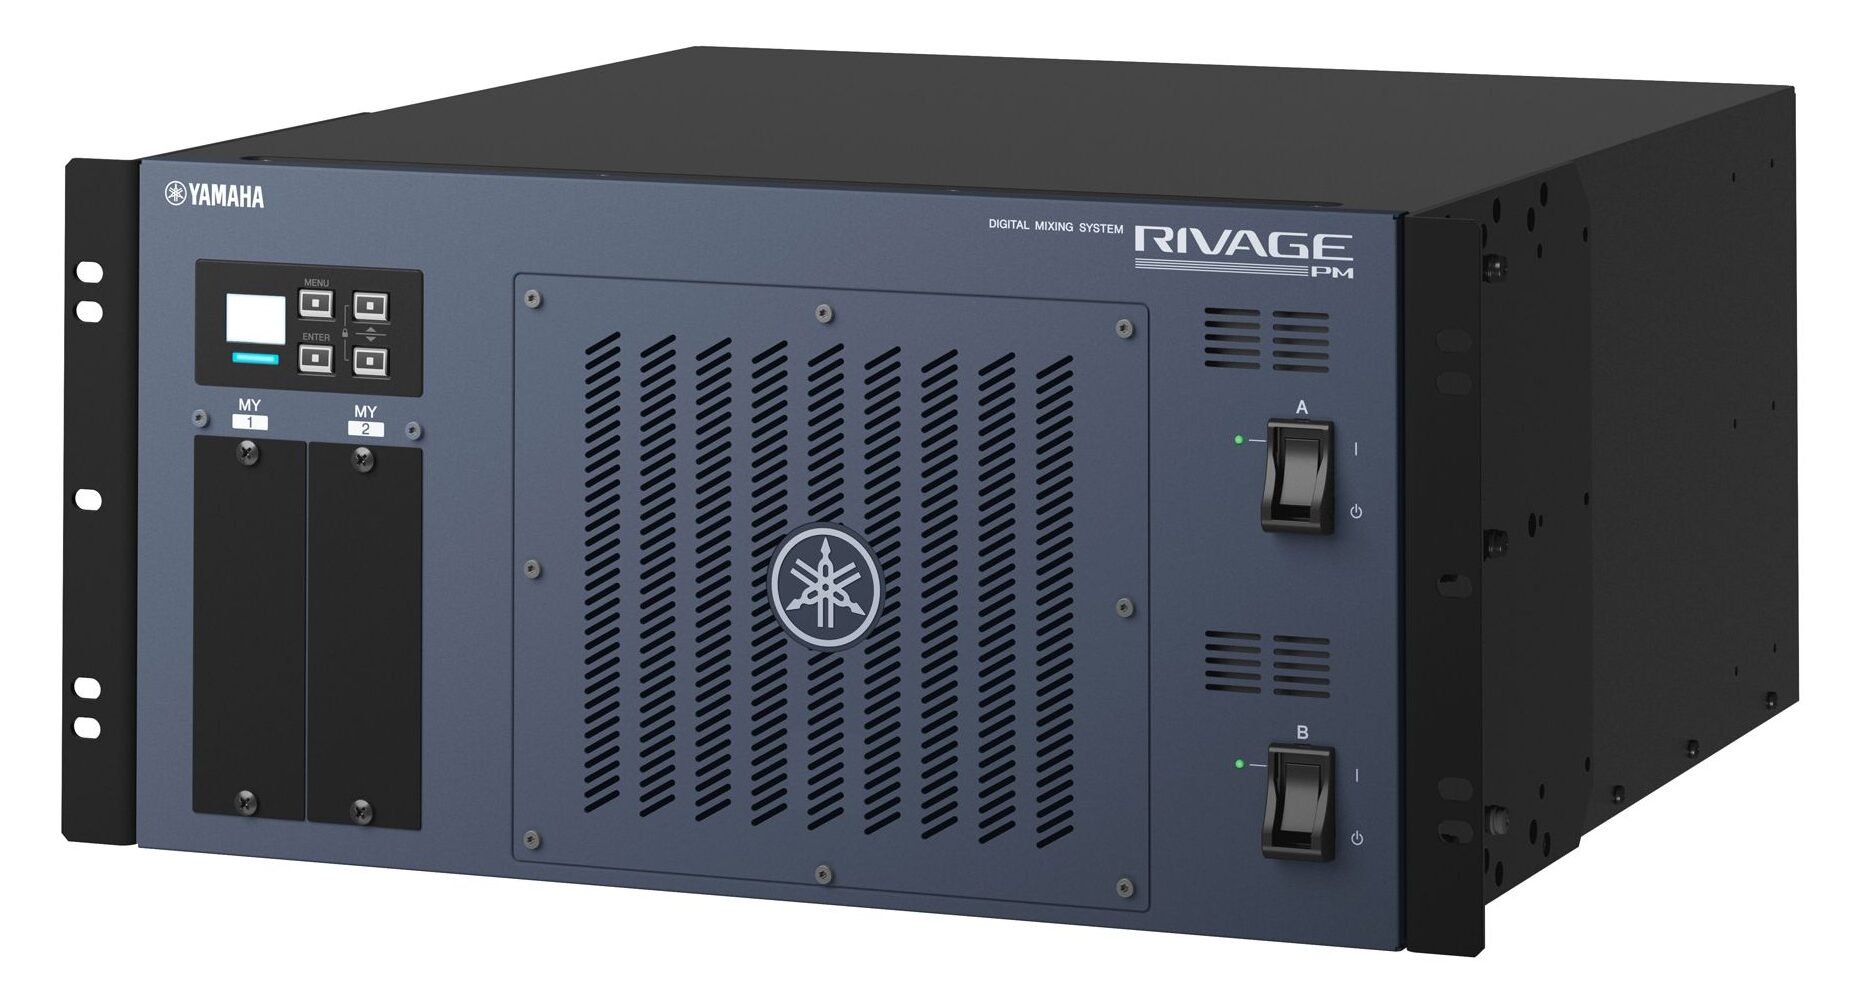
DSP-RX and DSP-RX-EX
The new brains of the RIVAGE series are an evolution of the modular DSP engine design and are available in two options. The DSP-RX unit provides 120 inputs, 48 mix buses, and 24 matrices. The DSP-RX-EX provides 288 inputs, 72 mix buses, and 36 matrices. Both DSP engines are built on the same platform, so if you purchase a DSP-RX and need additional horsepower down the line, a DEK-DSP-RX expansion kit can be added to upgrade the DSP-RX to full DSP-RX-EX specifications.
Expansion of the Yamaha Ecosystem
All RIVAGE PM systems use the same I/O racks, the same firmware, and the same DSP engines (with the exception of the PM7 that has an internal DSP unit). All surfaces feature the same basic fader configuration, and any console file would be compatible across the full line. Like their predecessors, the PM5 and PM3 are directly compatible with TWINLANe and Dante networks using the necessary HY I/O cards. A choice of two DSP engines with different mixing capacities, plus a total of five control surfaces including the two new models, gives engineers ample flexibility to create systems ideally tailored to a wide range of applications.
| PM5/PM3
DSP-RX-EX |
PM5/PM3
DSP-RX |
CL5 | CL3 | CL1 | |
| Input Mixing Channels | 288 | 120 | 72 mono + 8 stereo | 64 mono + 8 stereo | 48 mono + 8 stereo |
| Mix Buses |
72 | 48 | 24 | ||
| Matrices |
36 | 24 | 8 | ||
| Stereo Bus |
2 | 2 | 1 | ||
| Mono |
1 | 1 | 1 | ||
| Cue |
2 | 2 | 1 | ||
In the most basic configuration, the newly released PM5 or PM3 has 120 inputs, 48 mix buses, and 24 matrices, and capable of running at 96 kHz. In comparison, a CL5 has a maximum of 72 mono and 8 stereo inputs, 24 mix buses, and 8 matrices. The CL and QL series console do have limited DSP capabilities (as well as the limit of running at 48 kHz), but the entire mix engine is built into the console, while the PM5 and PM3 surfaces need the external DSP engine in order to function. It is also worth noting that an HY144-D card is needed to connect a PM series console to a Dante network, rather than having an integrated Dante port like the CL and QL series.
The PM5 and PM3 surfaces are a highly anticipated bridge between the functionality of the RIVAGE series and the price point of the CL series. For questions about designing a RIVAGE PM system, contact our sales team at 847-367-9588 or sales@tcfurlong.com.


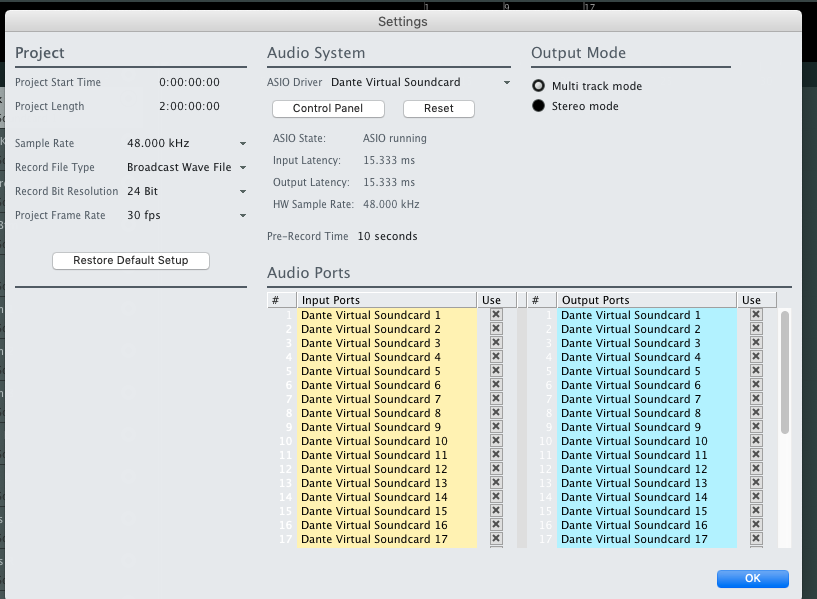
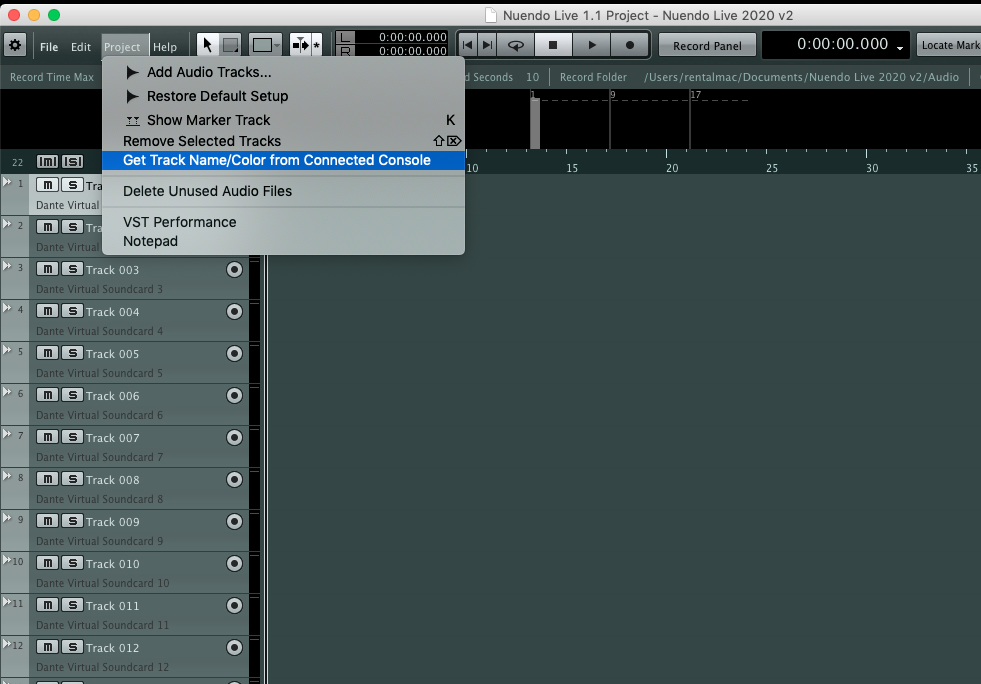
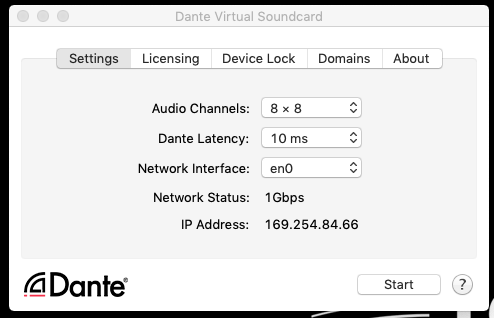 For the most part, you don’t need to change anything except for the Audio Channels. We recommend just doing the minimum that you need. In this example, we are using 32×32.
 Once you have selected the channel count, hit “Start”. You can now close or minimize this window. DVS will continue to run in the background.
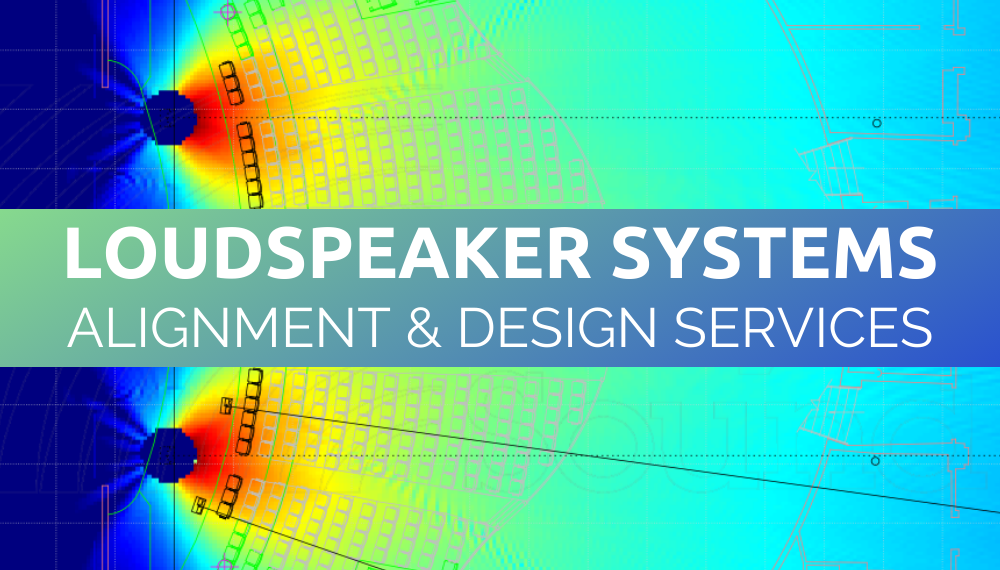
 Loudspeaker system alignment complements and optimizes the performance of the loudspeaker system much like the balancing of tires and a front-end alignment optimize the benefit of the installation of new tires on your car. It also maintains a smooth quiet ride and increased gas mileage.